A friend of mine introduced me to the wonderful world of Mood Sewciety sewing patterns – an extensive collection of free downloadable PDF patterns provided by the infamous Mood Fabrics store, located in New York City. One of my motto’s in life is, “if it’s free, it’s for me!“, therefore I’ve taken a liking to these patterns. I mean, patterns these days are so expensive so why not take a chance on something that’s free?!
One thing that both my friend and I have noticed is that there is a lack of reviews of these free patterns. Sure, you can scroll to the bottom of each post to read the comments, but that doesn’t suffice when exploring new patterns and trying to learn about how well they work. Therefore, I’ve decided that I’m going to take it upon myself to write my own reviews for each pattern that I try out, in hopes of helping others when they go to try them for themselves.
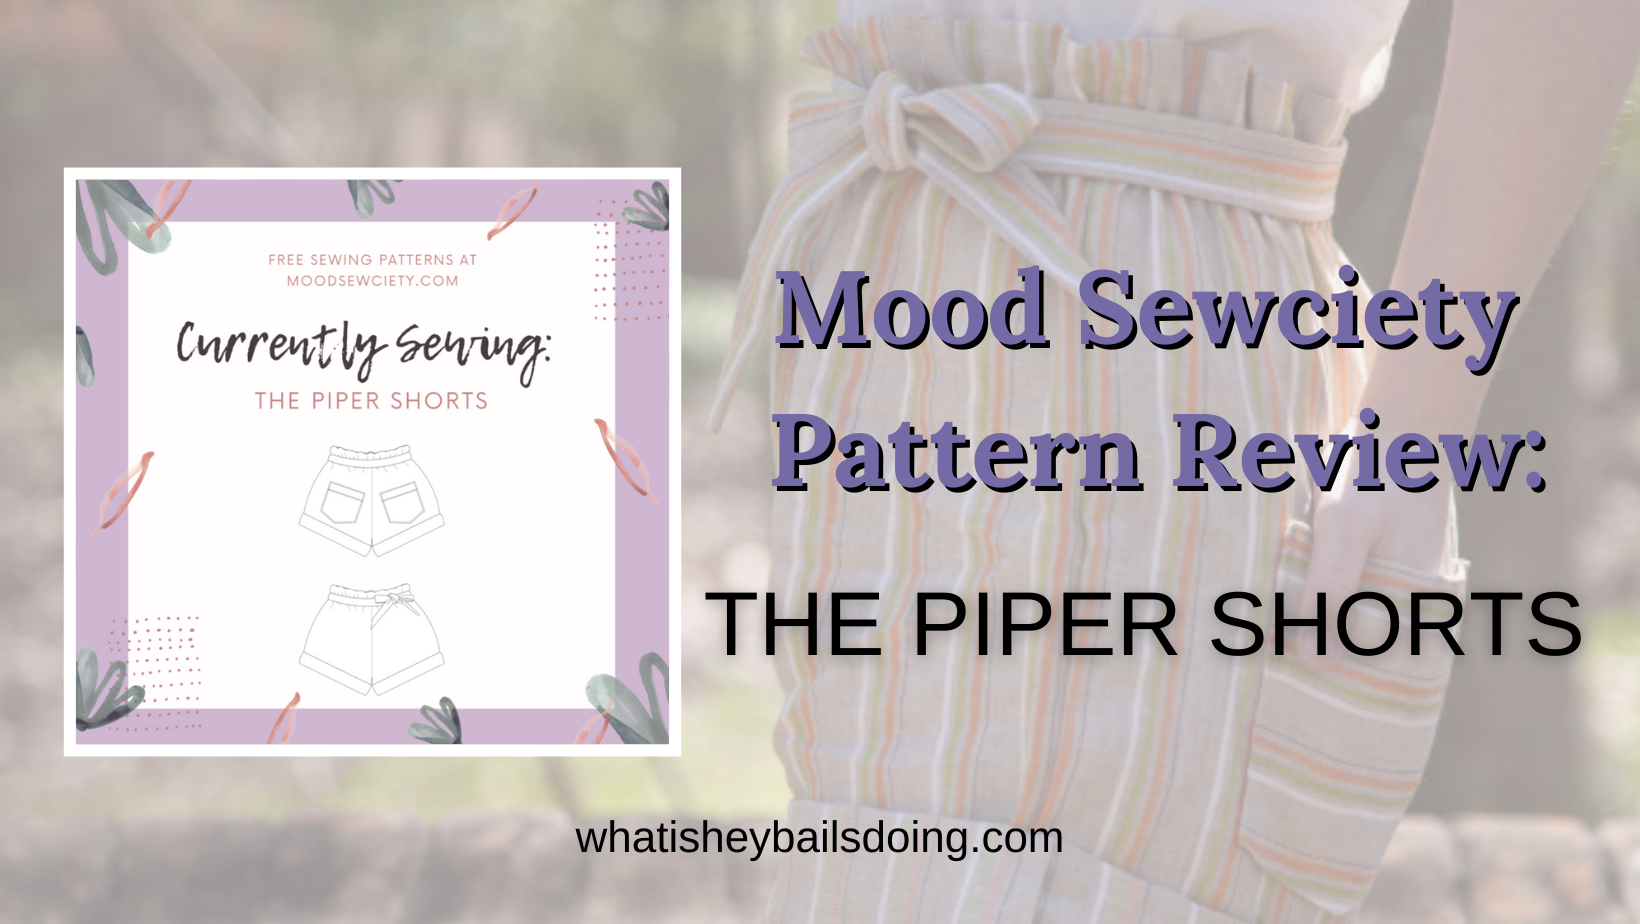
Below you’ll find my review of The Piper Shorts, complete with photos and links. Please feel free to leave a comment at the very bottom with your thoughts, any information you think I may have missed, questions or with the outcome of your own sewing project after checking out my review. I’d love to hear from you! ?

Putting Together the Pattern
Okay, if you’ve never used a PDF pattern before, I will warn you that it is quite a bit of work upfront, but when the pattern is free, it’s totally worth it. Depending on how many pattern pieces are involved, you will be required to print anywhere from 12 to 40+ pieces of paper, all of which are (usually) numbered. These numbers serve as a guide to help you put together the pattern, similar to how you would put together a puzzle. Oftentimes, the pattern will also include a photo that shows you what the finished pattern will look like once all pieced together.
For this first step, you will need the following:
- Scissors
- Tape (I prefer using matte Scotch tape)
- Printer and plenty of paper
Print the pattern out based upon the instructions given, then begin to separate the pieces into stacks based upon which numbers belong on each row. For this pattern, you will have 4 stacks that have 6 pages each. So, for example, place pages 1 – 6 in one stack, 7 – 12 in the second stack, and so forth until you reach the end.
Next, I recommend cutting the right-side edge along the guideline printed of each piece of paper in the first stack, as this will help tremendously when taping each piece together. Doing this will allow you to easily lay one piece on top of another to line them up perfectly before taping. For the remaining stacks, cut both the right-side edge and the top edge along the guideline that is printed.
Once you’ve cut all of the recommended edges off, begin by laying down piece number 6, then playing piece 5 on top. Line up both the edges and the pattern lines then tape into place. Continue with pieces 1-4, going in descending order until the first row is complete. Then begin the same process with each remaining stack, going in numerical order but beginning the taping process in descending order. Stack 2 will start with number 12, stack 3 will start with number 18 and stack 4 will start with number 24. When beginning each new stack, be sure to line up the number with both the page next to it and above it. See picture below for the final outcome.

Using the Pattern
Next, use the size guide found at the beginning of the instructions article to determine which size pattern you will need to cut out. For this pattern, you will most likely want to choose a size or two smaller than what the chart recommends. I chose my pattern size based upon my hip measurement, which was 40″, therefore chart recommended that I use a size 14 pattern. Unfortunately, the final product was way too big! I have no clue how this happened as I followed their instructions of using a 1/2″ seam allowance when sewing… Scroll to the bottom to read more about how these shorts turned out for me.
After cutting out your pattern pieces, you will then cut out your fabric pieces then begin to sew your garment based upon their instructions. You can find the instructions for this pattern here on Mood Sewciety’s website.
One thing to note about the instructions given on the Mood Sewciety website is that they are not always written with complete details, nor do they always contain pictures for each step. Therefore, sometimes you’ll have to guess-and-check, use your own prior sewing knowledge or result to leaving a comment on their blog post in the event you need some help. You can also join the Mood Sewciety Facebook group that has over 9,000+ members, where you can ask questions. Someone in this group is bound to have used the same pattern and will be available to assist you. ?
My Experience Using the Piper Shorts Pattern
For this pattern, they recommend using a linen fabric. While this is definitely a great option, I had bought some beautiful elephant printed cotton fabric while traveling to India a few months ago, so I wanted to use this fabric instead. The only issue was that it was pretty thin, therefore I chose to line each piece with some white cotton fabric to create some stability and minimize the chances of it being see-through. ? Additionally, I chose not to bother with the back pockets as I didn’t care for them with the look that I was trying to achieve.

Okay, let’s jump to the reason why you’re here – my experience using this pattern. First of all, I think that the instructions for constructing the shorts were totally off. When sewing shorts, I was always taught to sew the right-front leg to the back-front leg at the inseam, then do the same for the left side before connecting the two pieces via the crotch seam. Once this is complete, you then sew together the side seams. Instead, the instructions for the Piper Shorts tells you to sew both front panels together first, then the back panels then connect the front and back via the inseam and side seams… This was a terrible recommendation as it created bulk in the crotch along with a weird point. See photos below.


From here, they go on to give instructions on how to attach the pockets. As I mentioned above, I opted-out of adding the pockets so I skipped this step, but the instructions seem reliable from what I can tell.
Next, they move on to the waistband. For the most part, these instructions are perfect. I was able to create a beautiful waistband and casing for the elastic that closed away all raw edges. However, I found their last step for the waistband impractical. It reads: “Seam rip a small opening in the casing along the back seam and feed your elastic through. Stitch elastic together at the ends, evenly distribute the gathered fabric along the waistband, and slip-stitch the casing closed again.” My immediate thought was, why the hell would I rip my fabric when I can just rip the bottom casing seam instead?! So, I did just that: I ripped open about 1.5 inches of the bottom row of stitches at the center-back seam, then used this area to insert the elastic. Once I stitched the ends of the elastic together, I then stitched the opened seam shut once again and voila! Everything looks fantastic with no hand-sewing required.

Final Results
Well, here is how they turned out! As I stated above, they turned out to be way too big. You can see the dissatisfaction on my face. Again, I’m not exactly sure how they came to be so large as I chose the size based upon my measurements and their chart. My only conclusion would be that they created this pattern to fit loosely or they did not match the pattern size to the chart as they should have.

I’m not satisfied with the outcome…

There is SO MUCH SPACE in the crotch. Yuck.
My Critiques
One thing that I wish they would’ve included with this pattern were belt loops. If you’re making a belt, creating belt loops are essential as they help to keep the belt in place. You can easily create these for yourself, though!
Additionally, I think that they should change the sewing instructions for the crotch seam, inseam and side seams. I understand why they suggest to do it the way that they did (to hide the raw edges), but you can always use a serger or a zigzag stitch from a regular sewing machine on the raw edges instead.
Finally, I think that they need to check the pattern against their size chart. Due to my shorts turning out to be much larger than I expected, my recommendation to you would be to create a muslin sample first in order to ensure that the size you’ve selected fits you to your liking. This is especially important if you’re planning to use some special fabric that you have, like how I chose to use fabric that I sourced while traveling in India.
I hope that you find this review both informative and helpful! ? Please feel free to leave a comment if you’ve tried some of my tips while creating your own version of the Piper Shorts. I’d love to hear how this pattern worked out for you!
Leave a Reply