
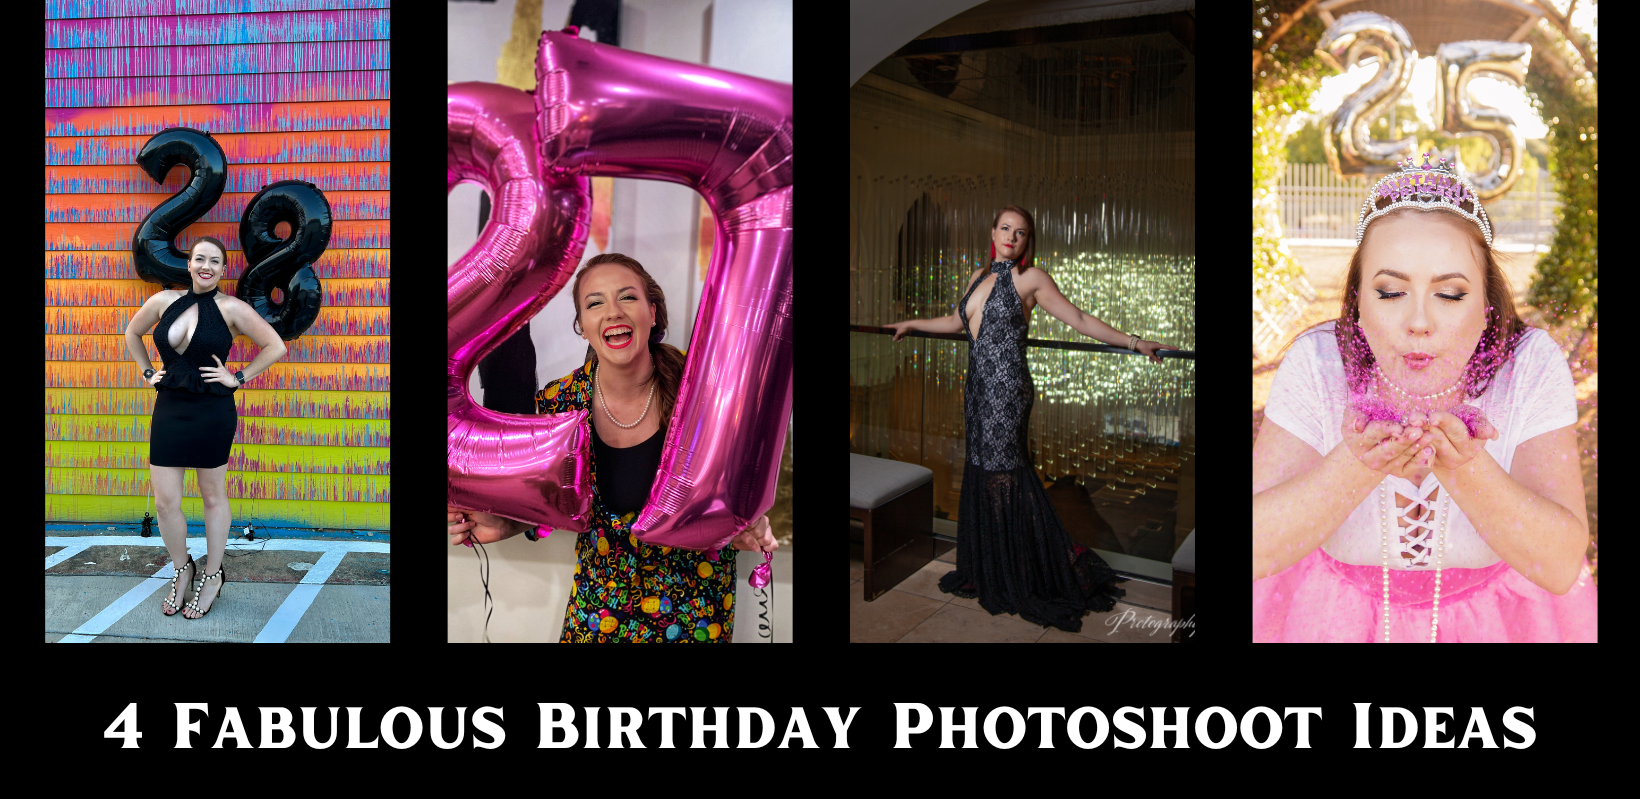
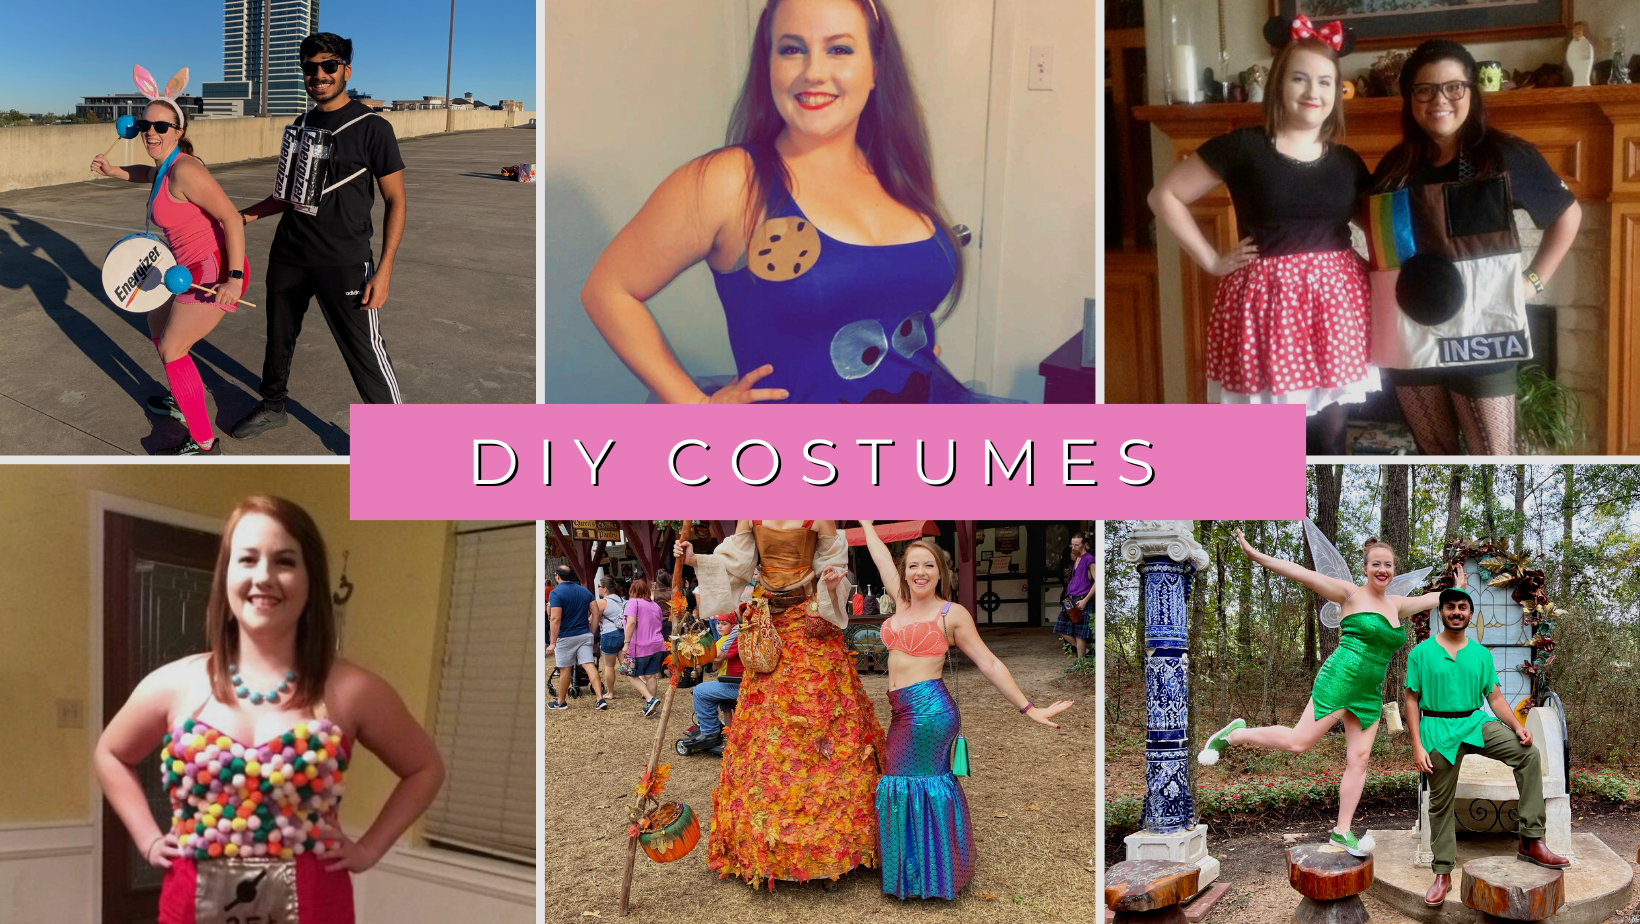
I am an extra-AF, go-all-out for my birthday kinda girl (here’s some more proof ?) and I love throwing themed birthday parties for myself. For my 29th birthday, I decided to go with a Mean Girls movie theme. Naturally, I allowed my creativity to run wild. The party turned out to be a massive success! I’ve decided to share my secrets with you so that you can throw a Totally Fetch Mean Girls Birthday Party for yourself or a friend. Let’s get this party started, y’all!
The Invitations
I’m very crafty and a D-I-Y kind of girl, so I knew that I’d be using Canva, a free online design tool, to create my party invitations. Obviously, I needed to start by using some block letters that look like magazine cutouts to mimic those used on the cover of the Burn Book. My first thought was to check Pinterest to see if I could download some for free, but most of the letters I found were digital downloads on Etsy that cost a few bucks. Being the frugal girl that I am, I opted not to purchase letters and instead to make my own! It’s much easier than you’d think. A few of the letters were cropped from photos (such as the “D” in “birthday”), but the majority of them were created using squares and a single letter placed on top which was much easier than trying to find black-and-white letters to crop from images.
Another obvious piece that I needed to include was the lipstick kiss, which I found in the “Elements” section of Canva. Graphic design not your thing? I get it! You can check out my Etsy Listing and pay a small fee for me to create a custom invitation for you. ?

Decorations
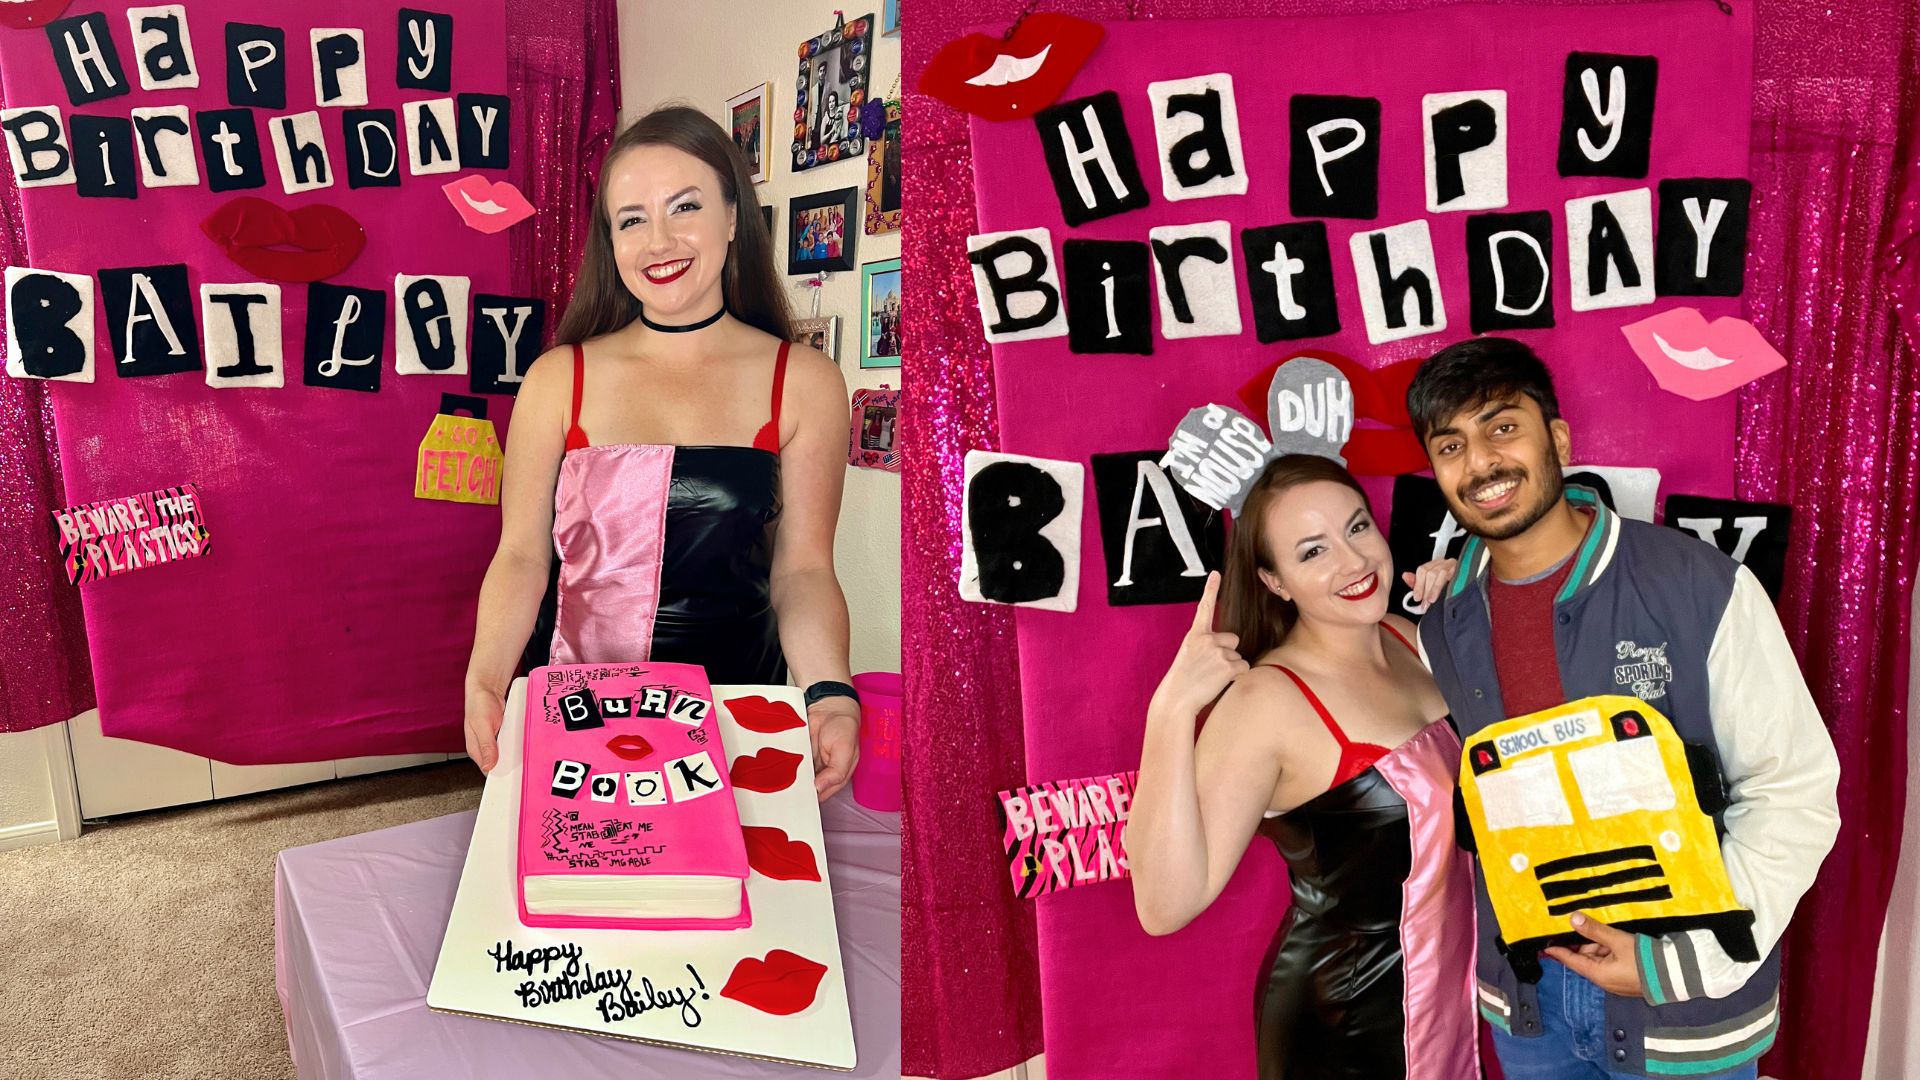
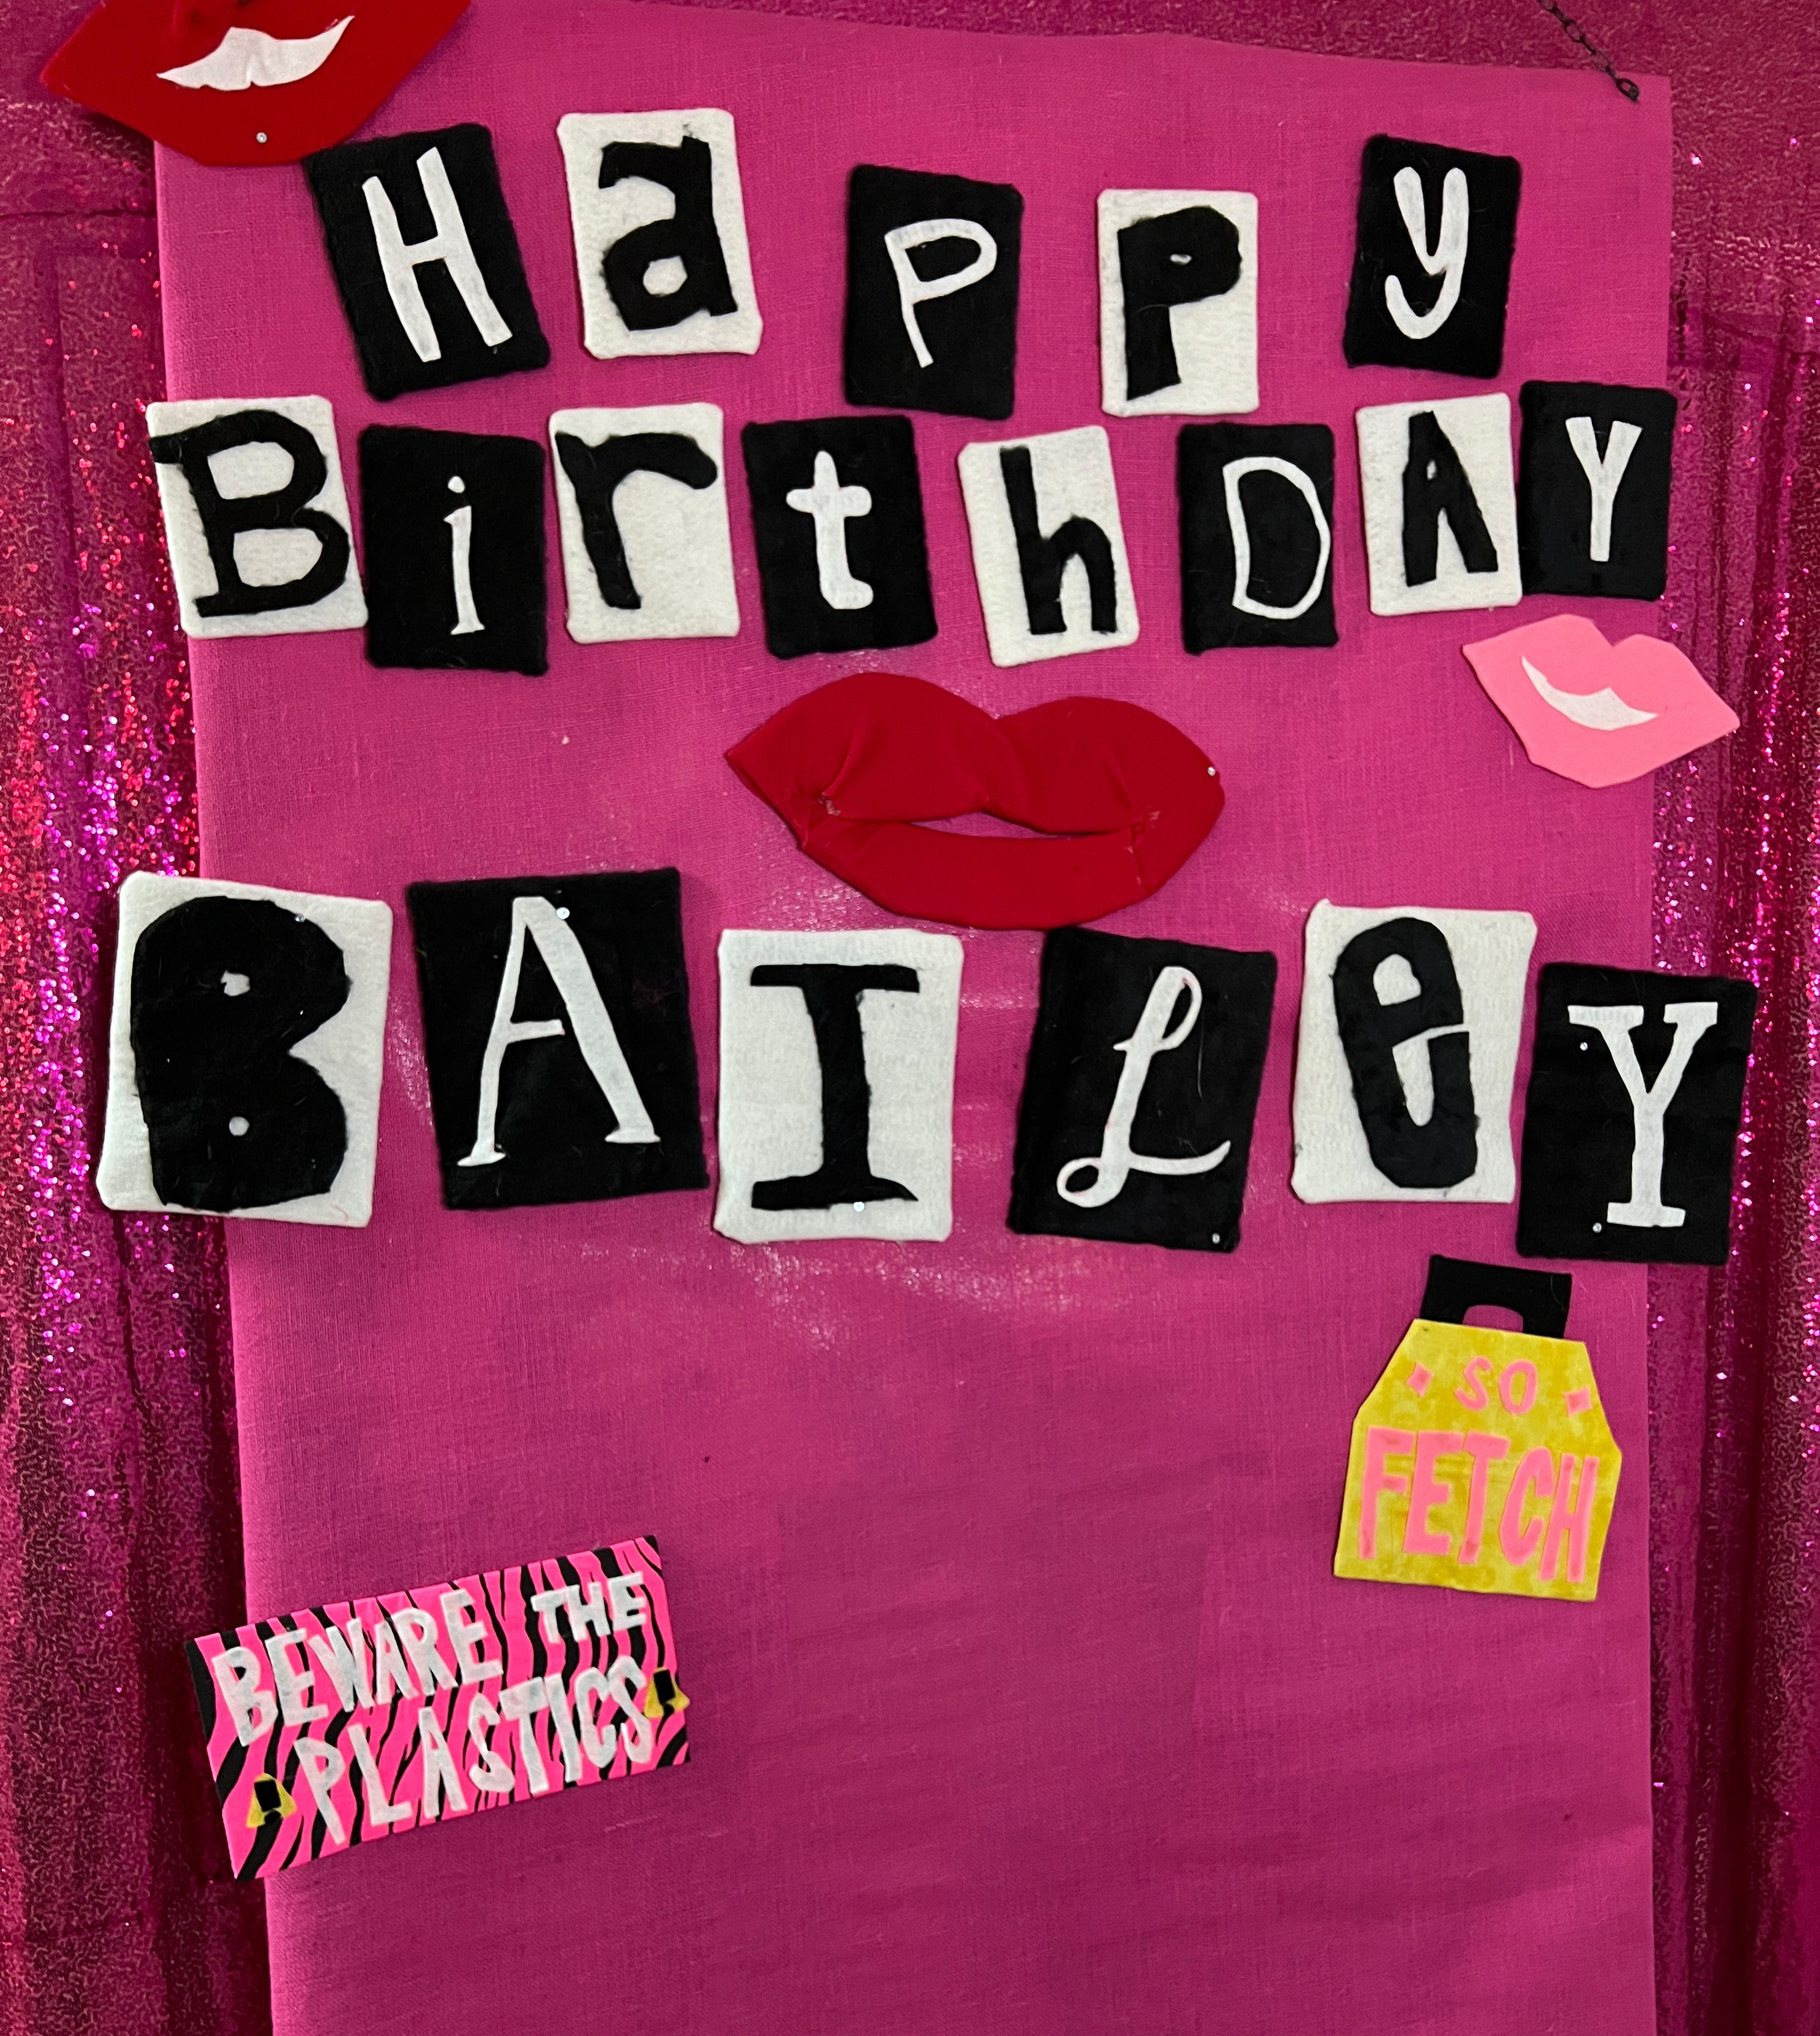
I am a sucker for a photo booth! So I obviously needed a themed one for this party. ? Thankfully, my best friend’s wife is truly amazing and creates backdrops for weddings all the time. I asked if I could commission her to create a Mean Girls themed birthday backdrop and she was thrilled! If you’re located in the Houston, TX area, reach out to Bethany via her Instagram – https://www.instagram.com/bethanyannbullock/
If you aren’t located near Houston, do some research and find someone near you who can create a backdrop (or just D-I-Y it yourself if you can!). Feel free to use the picture below as inspiration.
Bethany also created an array of props that fit the theme, such as mouse ears, a school bus, a pink t-shirt sporting the infamous quote “on Wednesdays we wear pink“, candy canes (but “none for Gretchen Wieners!” ?), a stop sign featuring “you can’t sit with us!“, Damian’s infamous disguise outfit he wore when he yelled “she doesn’t even go here!“, along with a few others. Check out how much fun we had playing with this backdrop and the props! (Click on a photo to make it larger)


Cake, Cake, Cake!
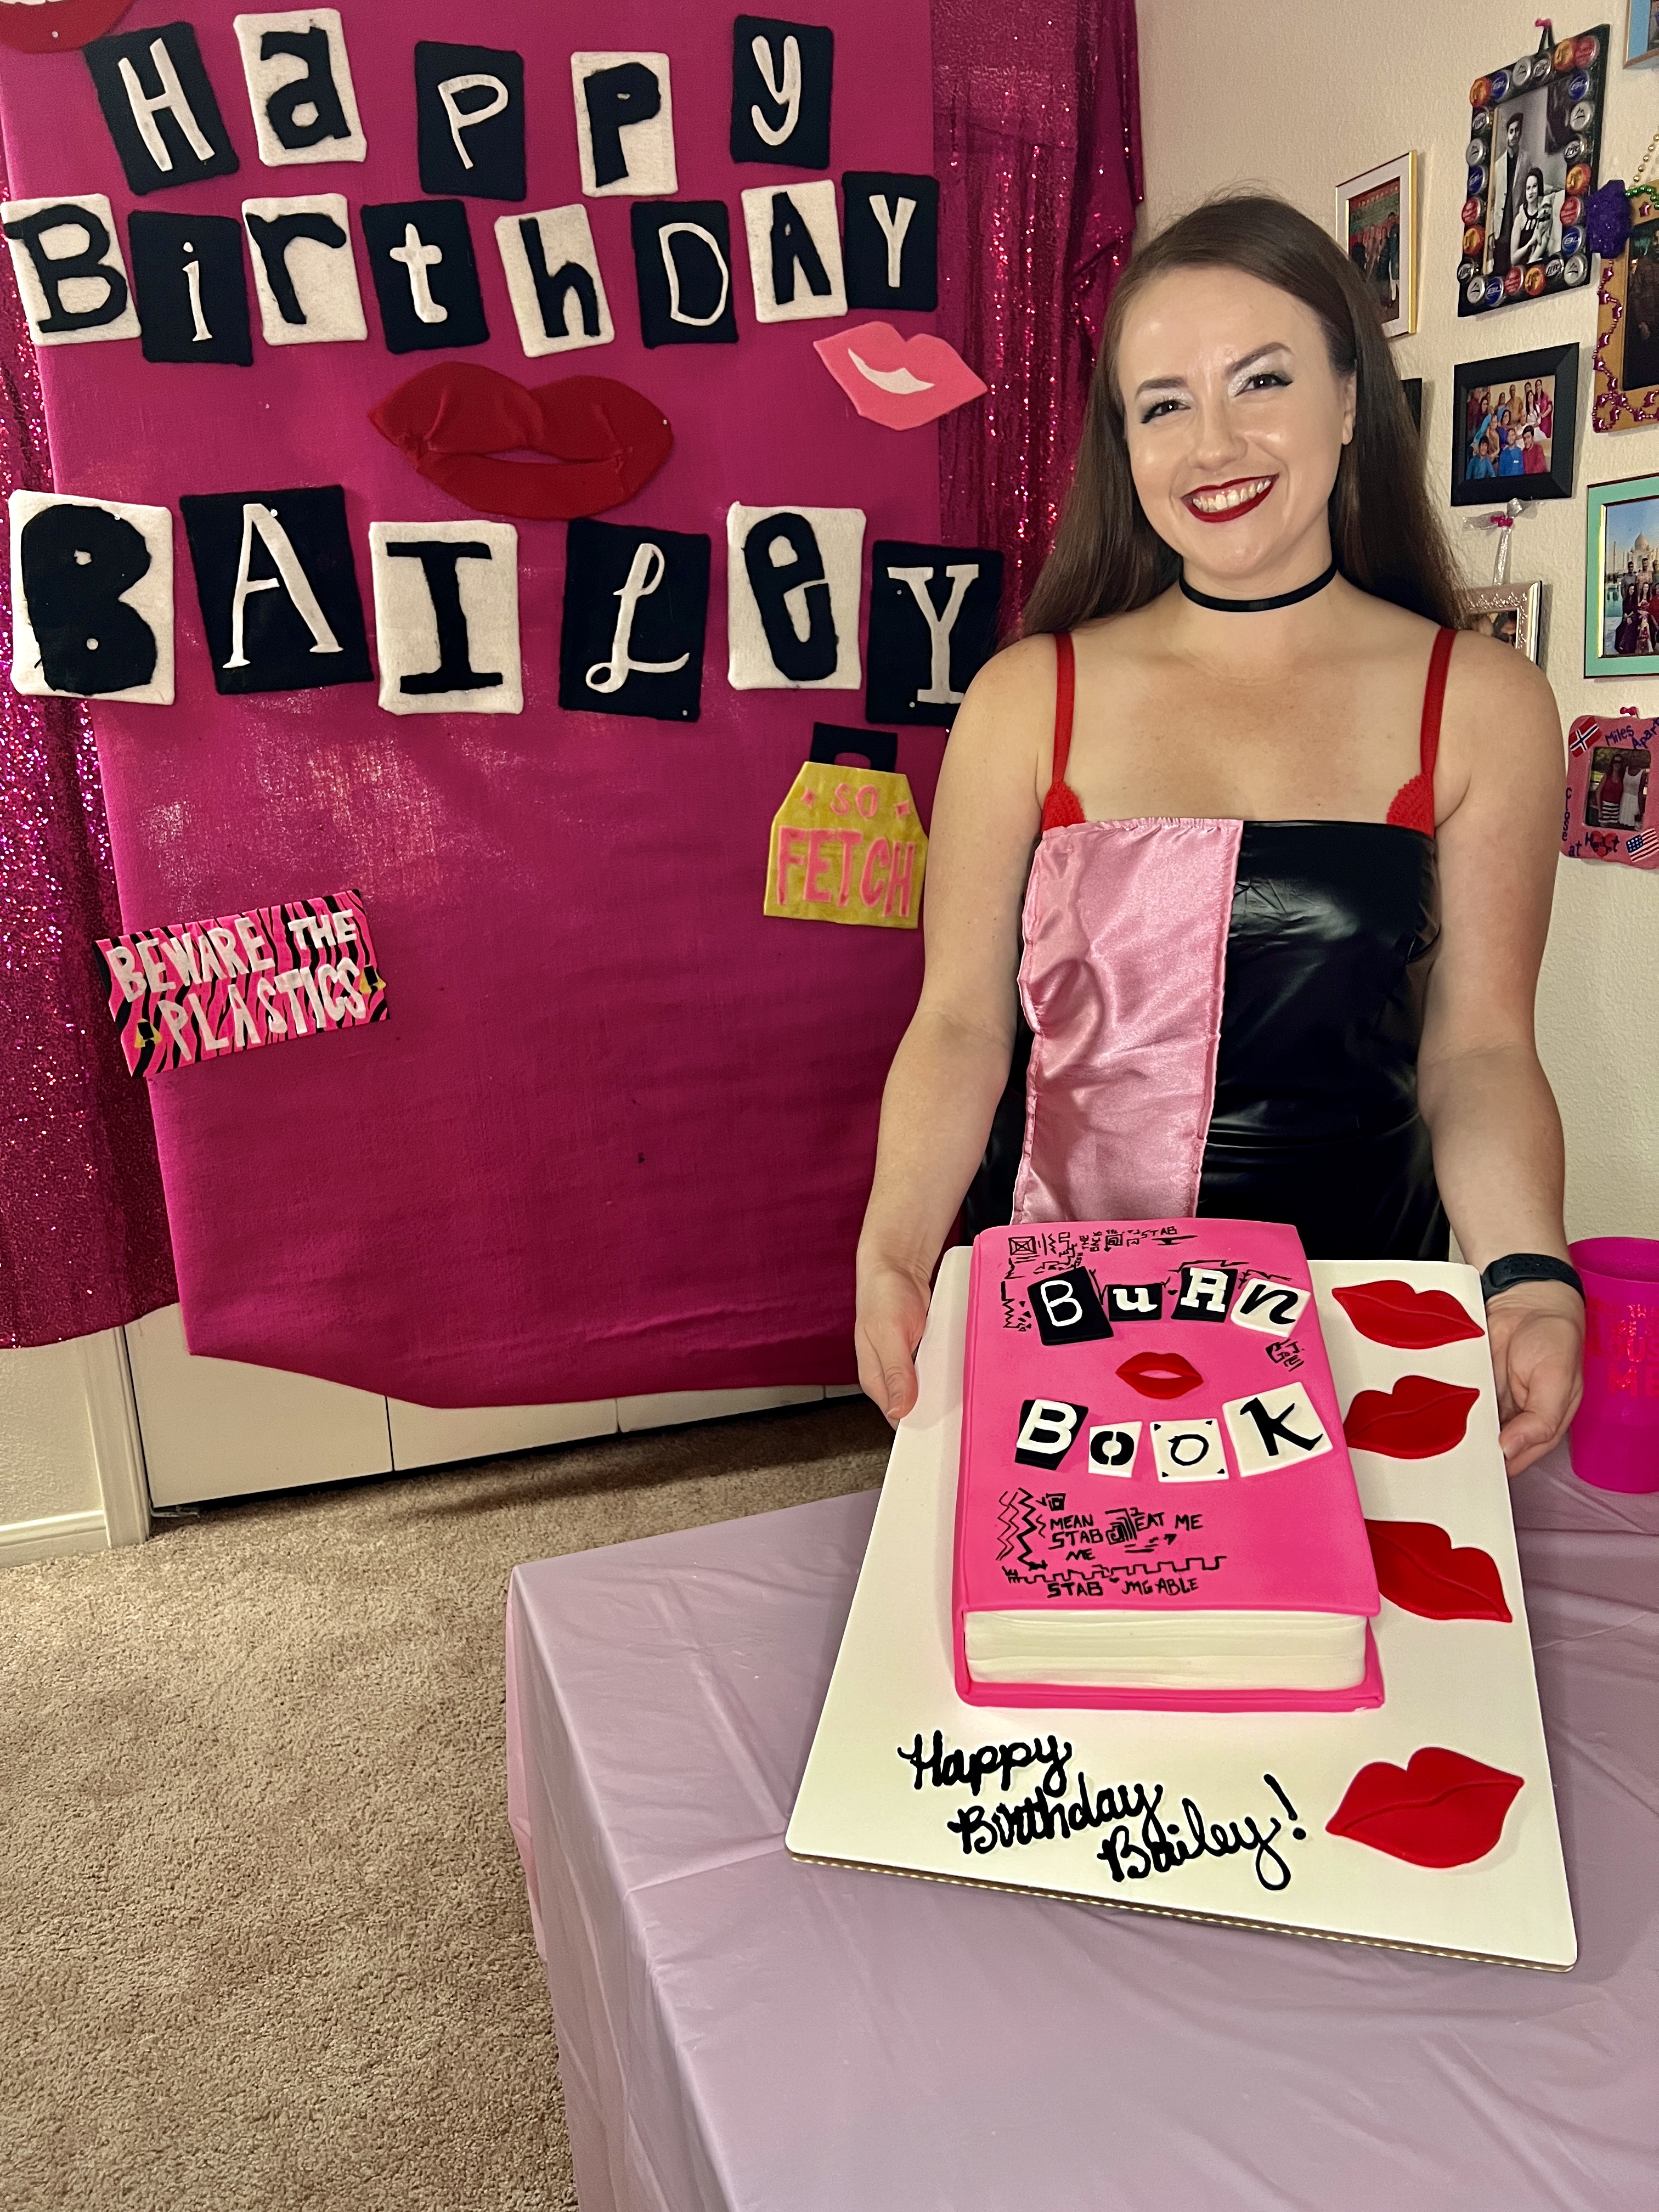
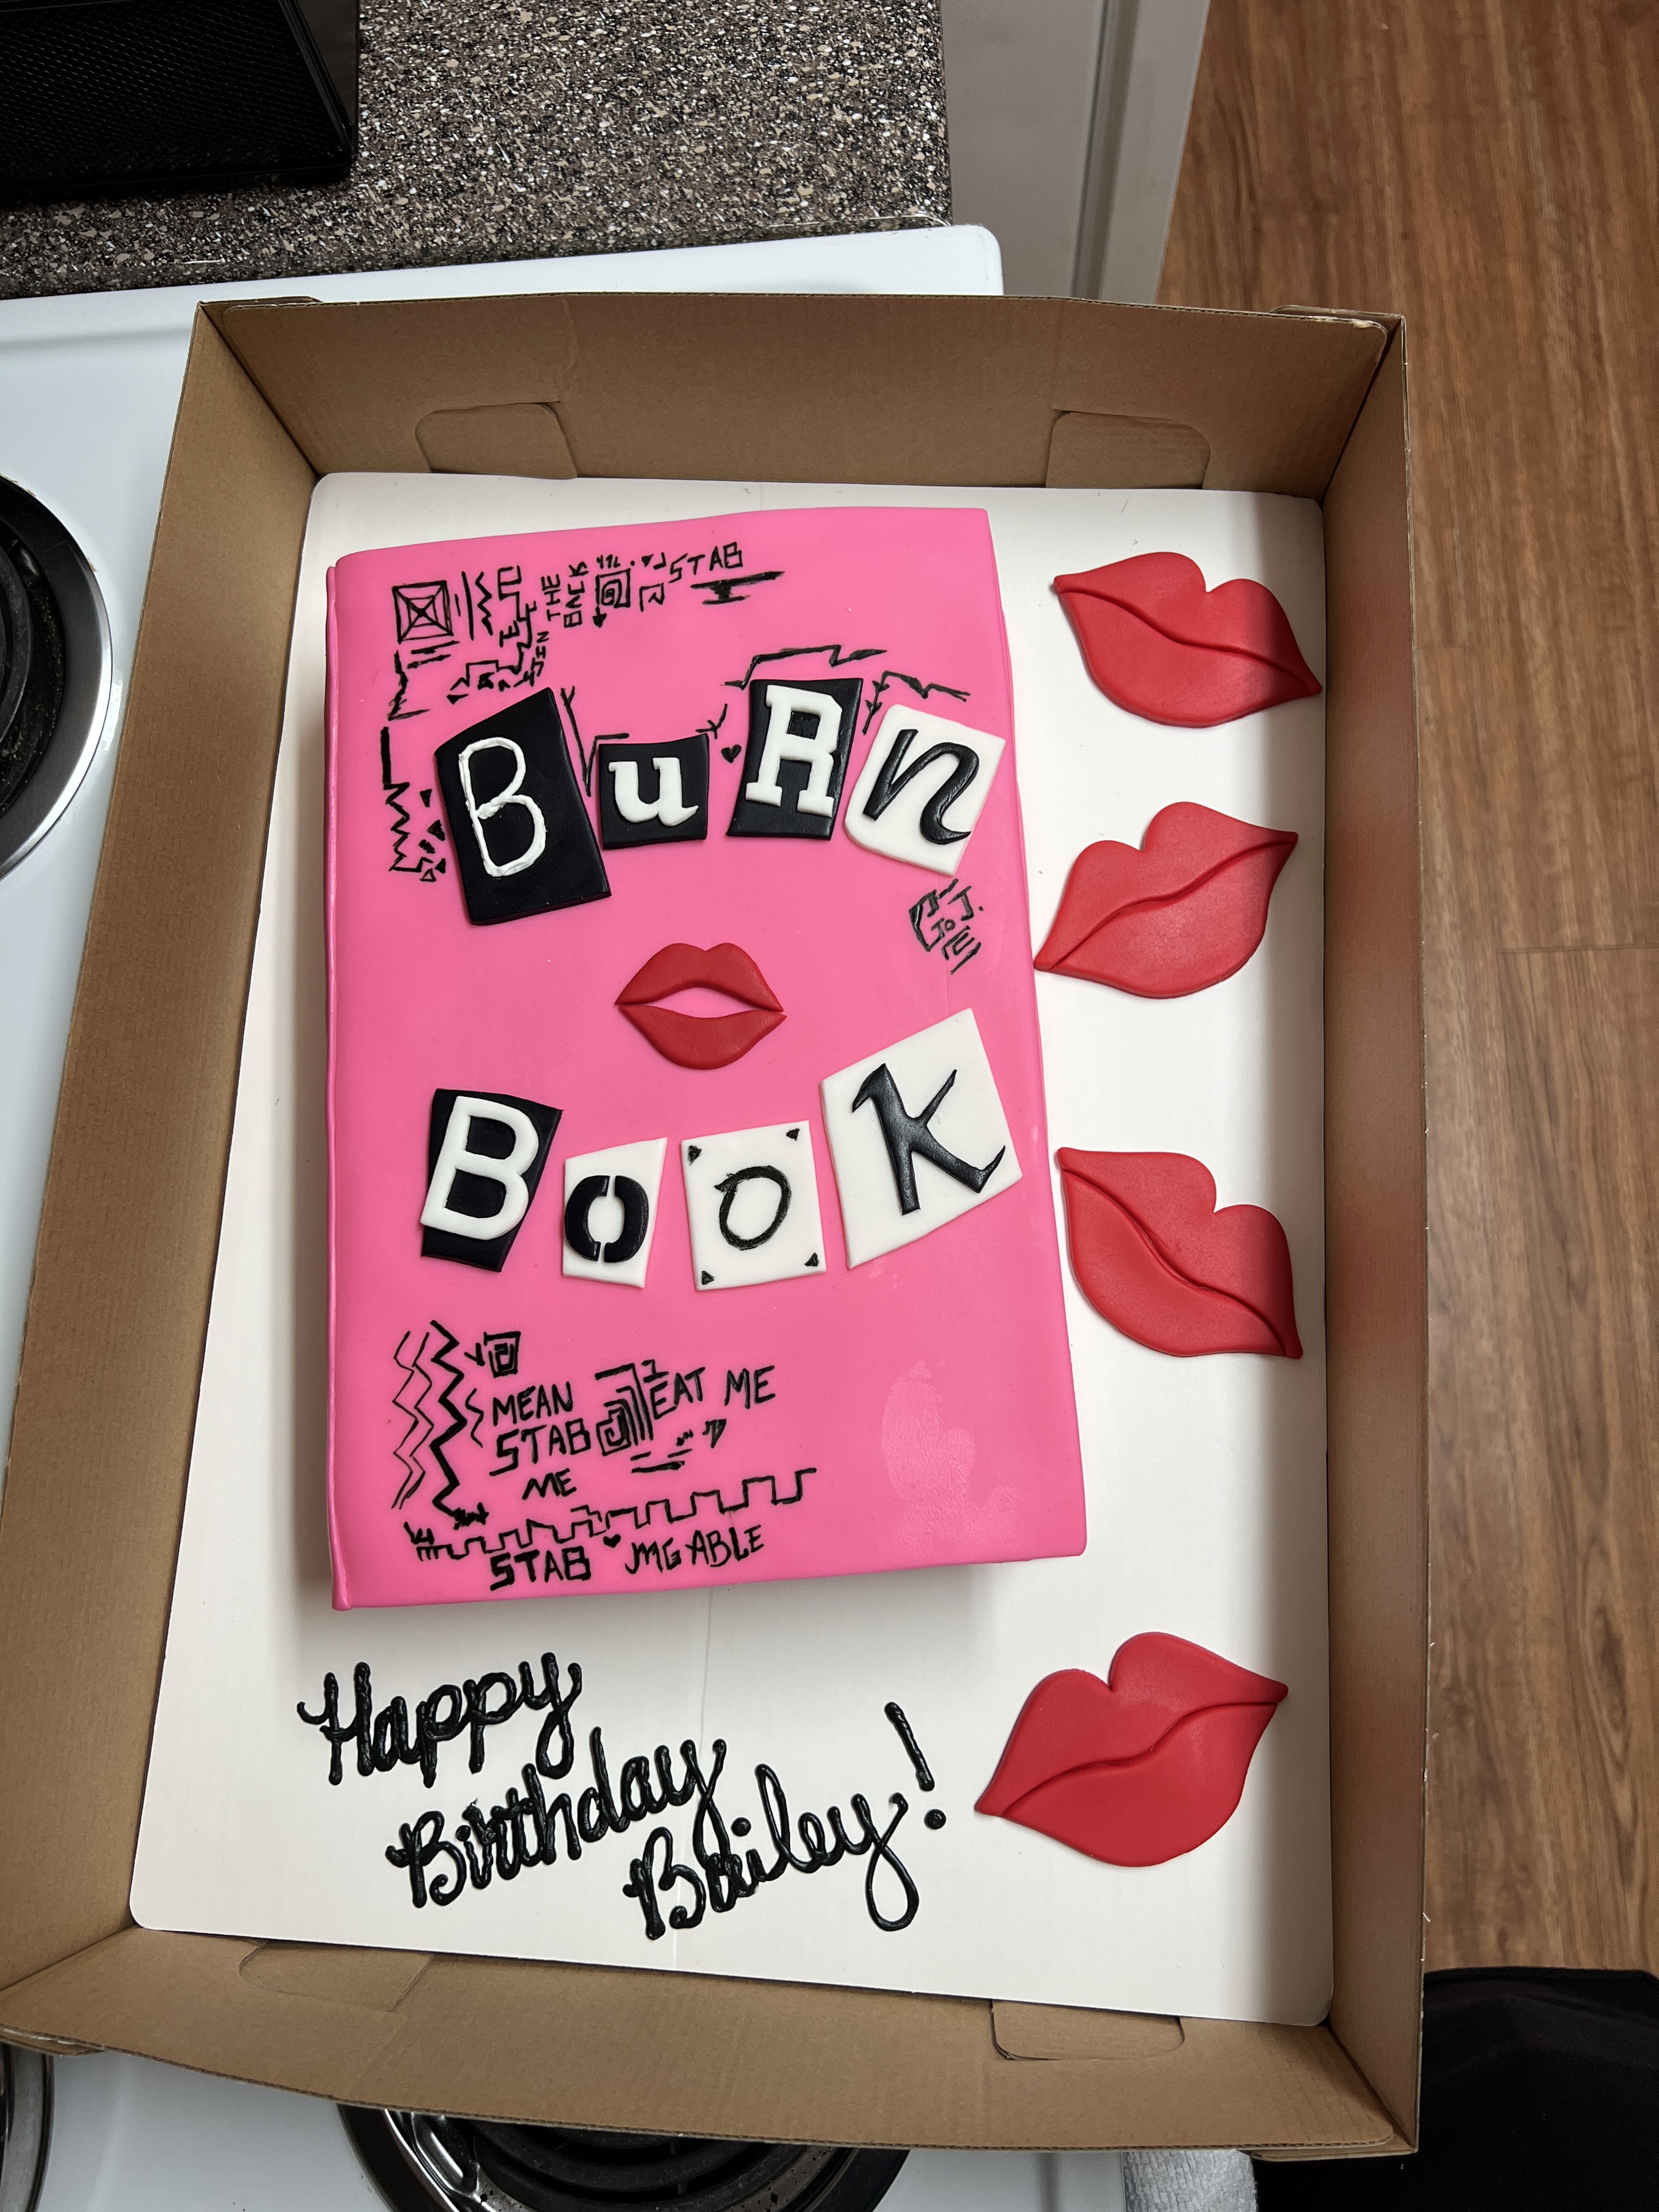
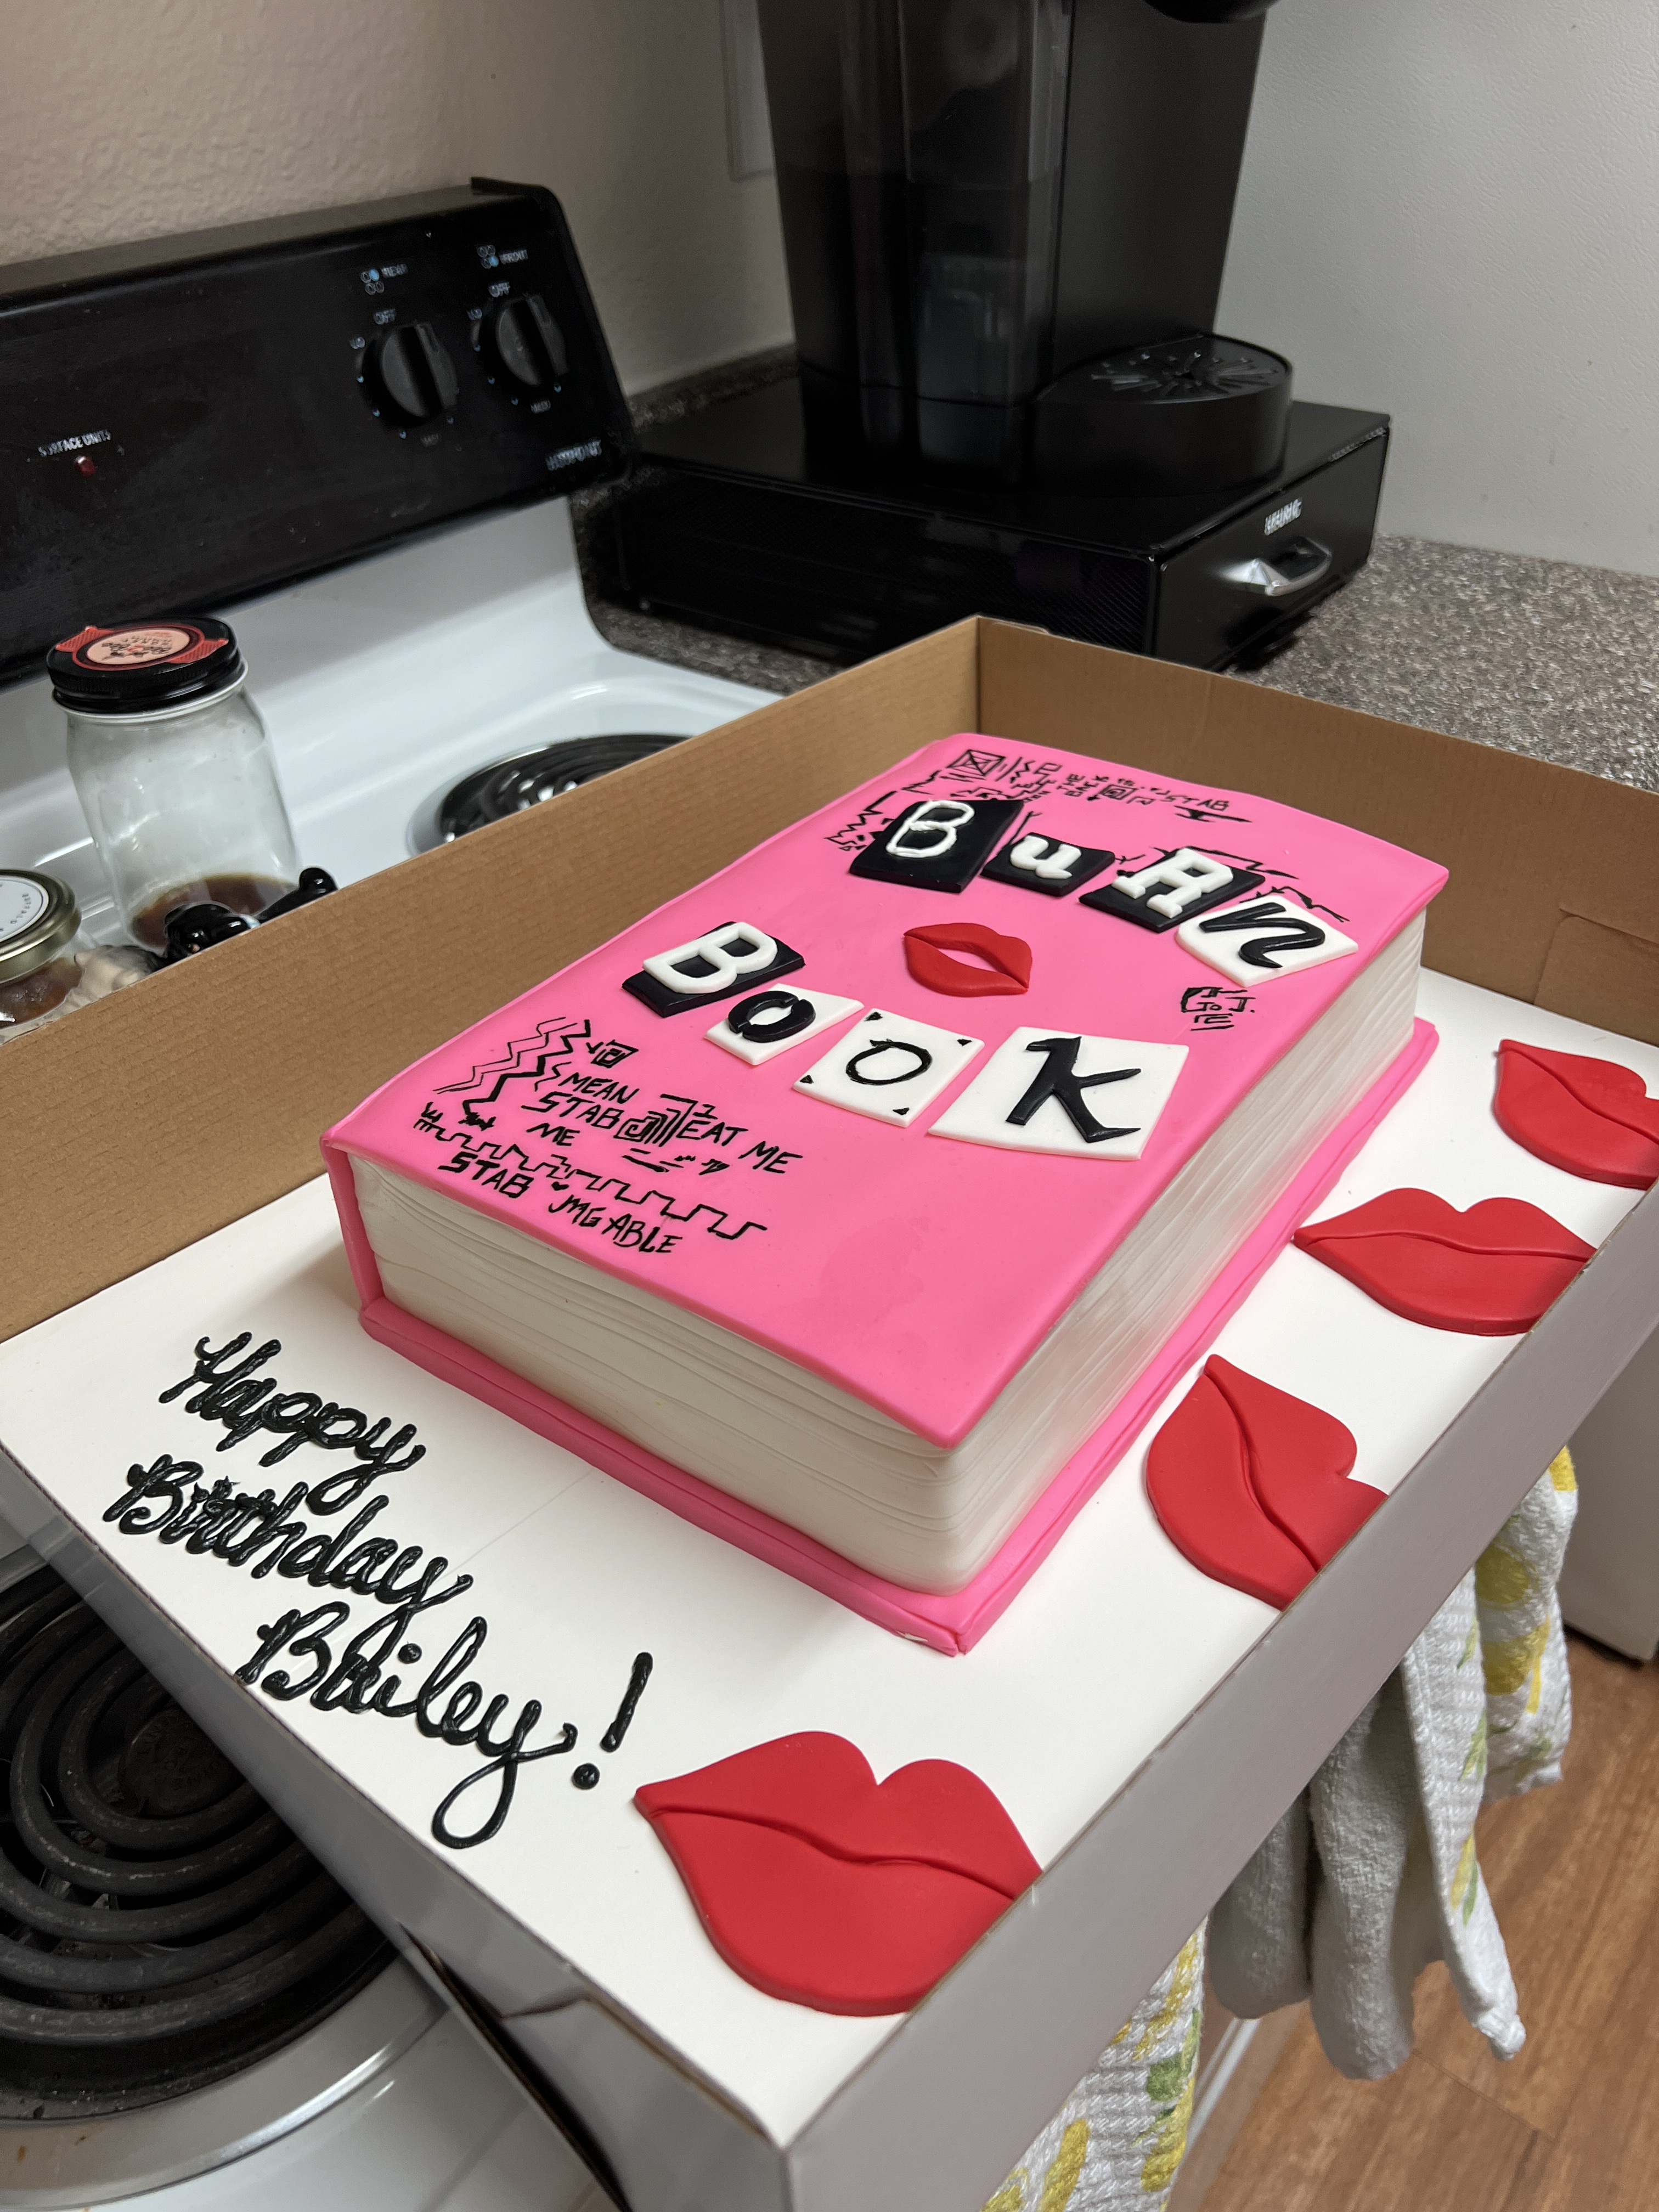
I’m very grateful to personally know a tremendously talented baker who created my cake (see photo below). Again, the obvious thing was to have her make a Burn Book themed cake! Because what else screams Mean Girls more than a Burn Book? Doreen did an absolutely incredible job of bringing my vision to life while creating a delicious experience for myself and my party guests. My recommendation? Skip the generic bakeries and find someone local who bakes creative cakes. It likely won’t be cheap, but if you can DIY other aspects of the party like I did, the cost of a beautiful cake will be worth it! Again, feel free to use a photo of my cake below to show your baker so that they can get the full picture. ?
Dress Code
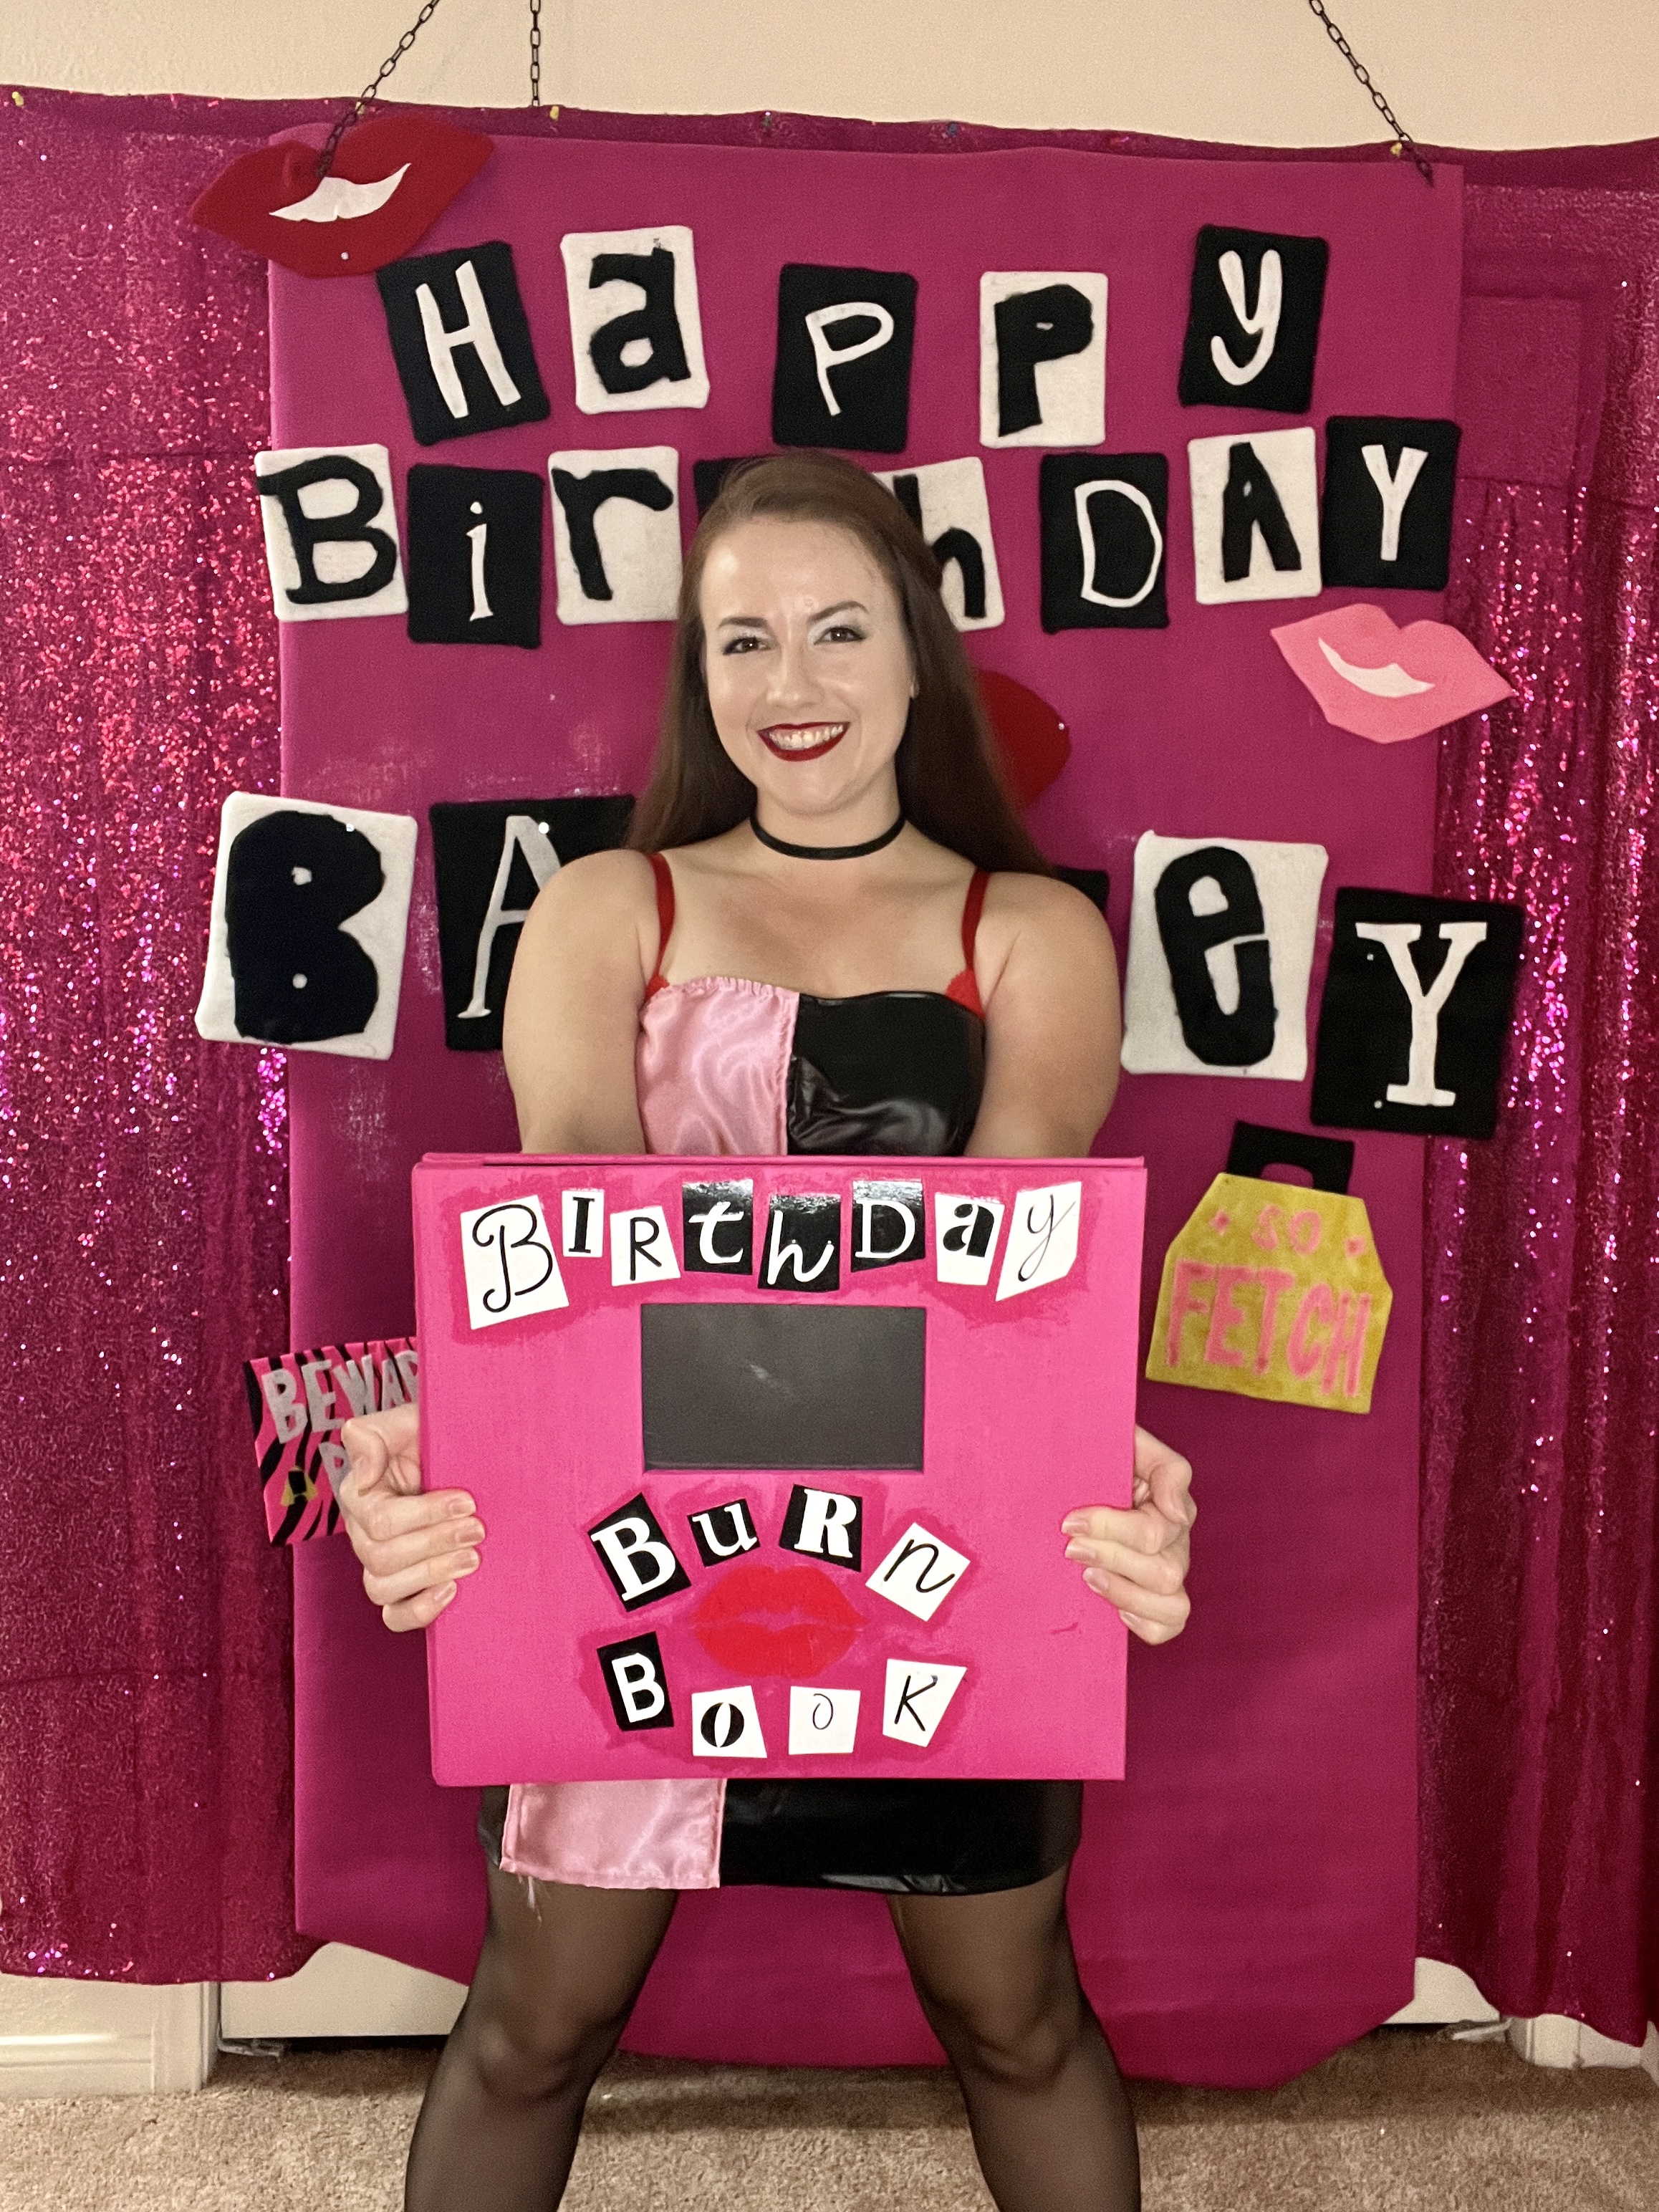
What kind of Mean Girls party would it be if people didn’t show up wearing pink?! While that was definitely an option for attire, I took it one step further and made the second option as dressing up as a favorite Mean Girls character! This was so much fun and I love that most of my friends jumped at the chance to dress like Regina George, Janice Ian, Principal Duvall, etc. And because I was the birthday girl throwing a party at my house, I just had to dress like Cady Heron! My super-supportive fiancé was more than happy to dress up as Aaron Samuels (and in more than one look, at that!). Check out the photos below to get some inspiration for yourself and for your friends.
Burn Book – With a Twist!
We all know what the purpose of the Burn Book in the movie was….and being mean is sooo 2004. That said, I needed a Burn Book at my birthday party, but I wanted to change it up and make it POSITIVE instead! So, let’s get started making a real live, better version of the Burn Book!
Supplies for Making the Burn Book
- Pink scrapbook, such as this one. You can also find them at your local JOANN, Michael’s or Hobby Lobby stores – If purchasing online, ensure that the pages in the scrapbook are NOT self-adhesive! This is very important
- New Burn Book Rules – click here to sign up to receive the FREE PDF directly in your inbox
- 1 sheet black card stock paper
- 1 sheet white card stock paper
- 1 sheet red card stock paper (buy all three colors in an inexpensive a multi-color pack on Amazon)
- Cricut – I have the Cricut Maker but you can also use Cricut Explore
- Mod Podge
- Foam paint brush (you find inexpensive ones at the Dollar Tree!)
Instructions
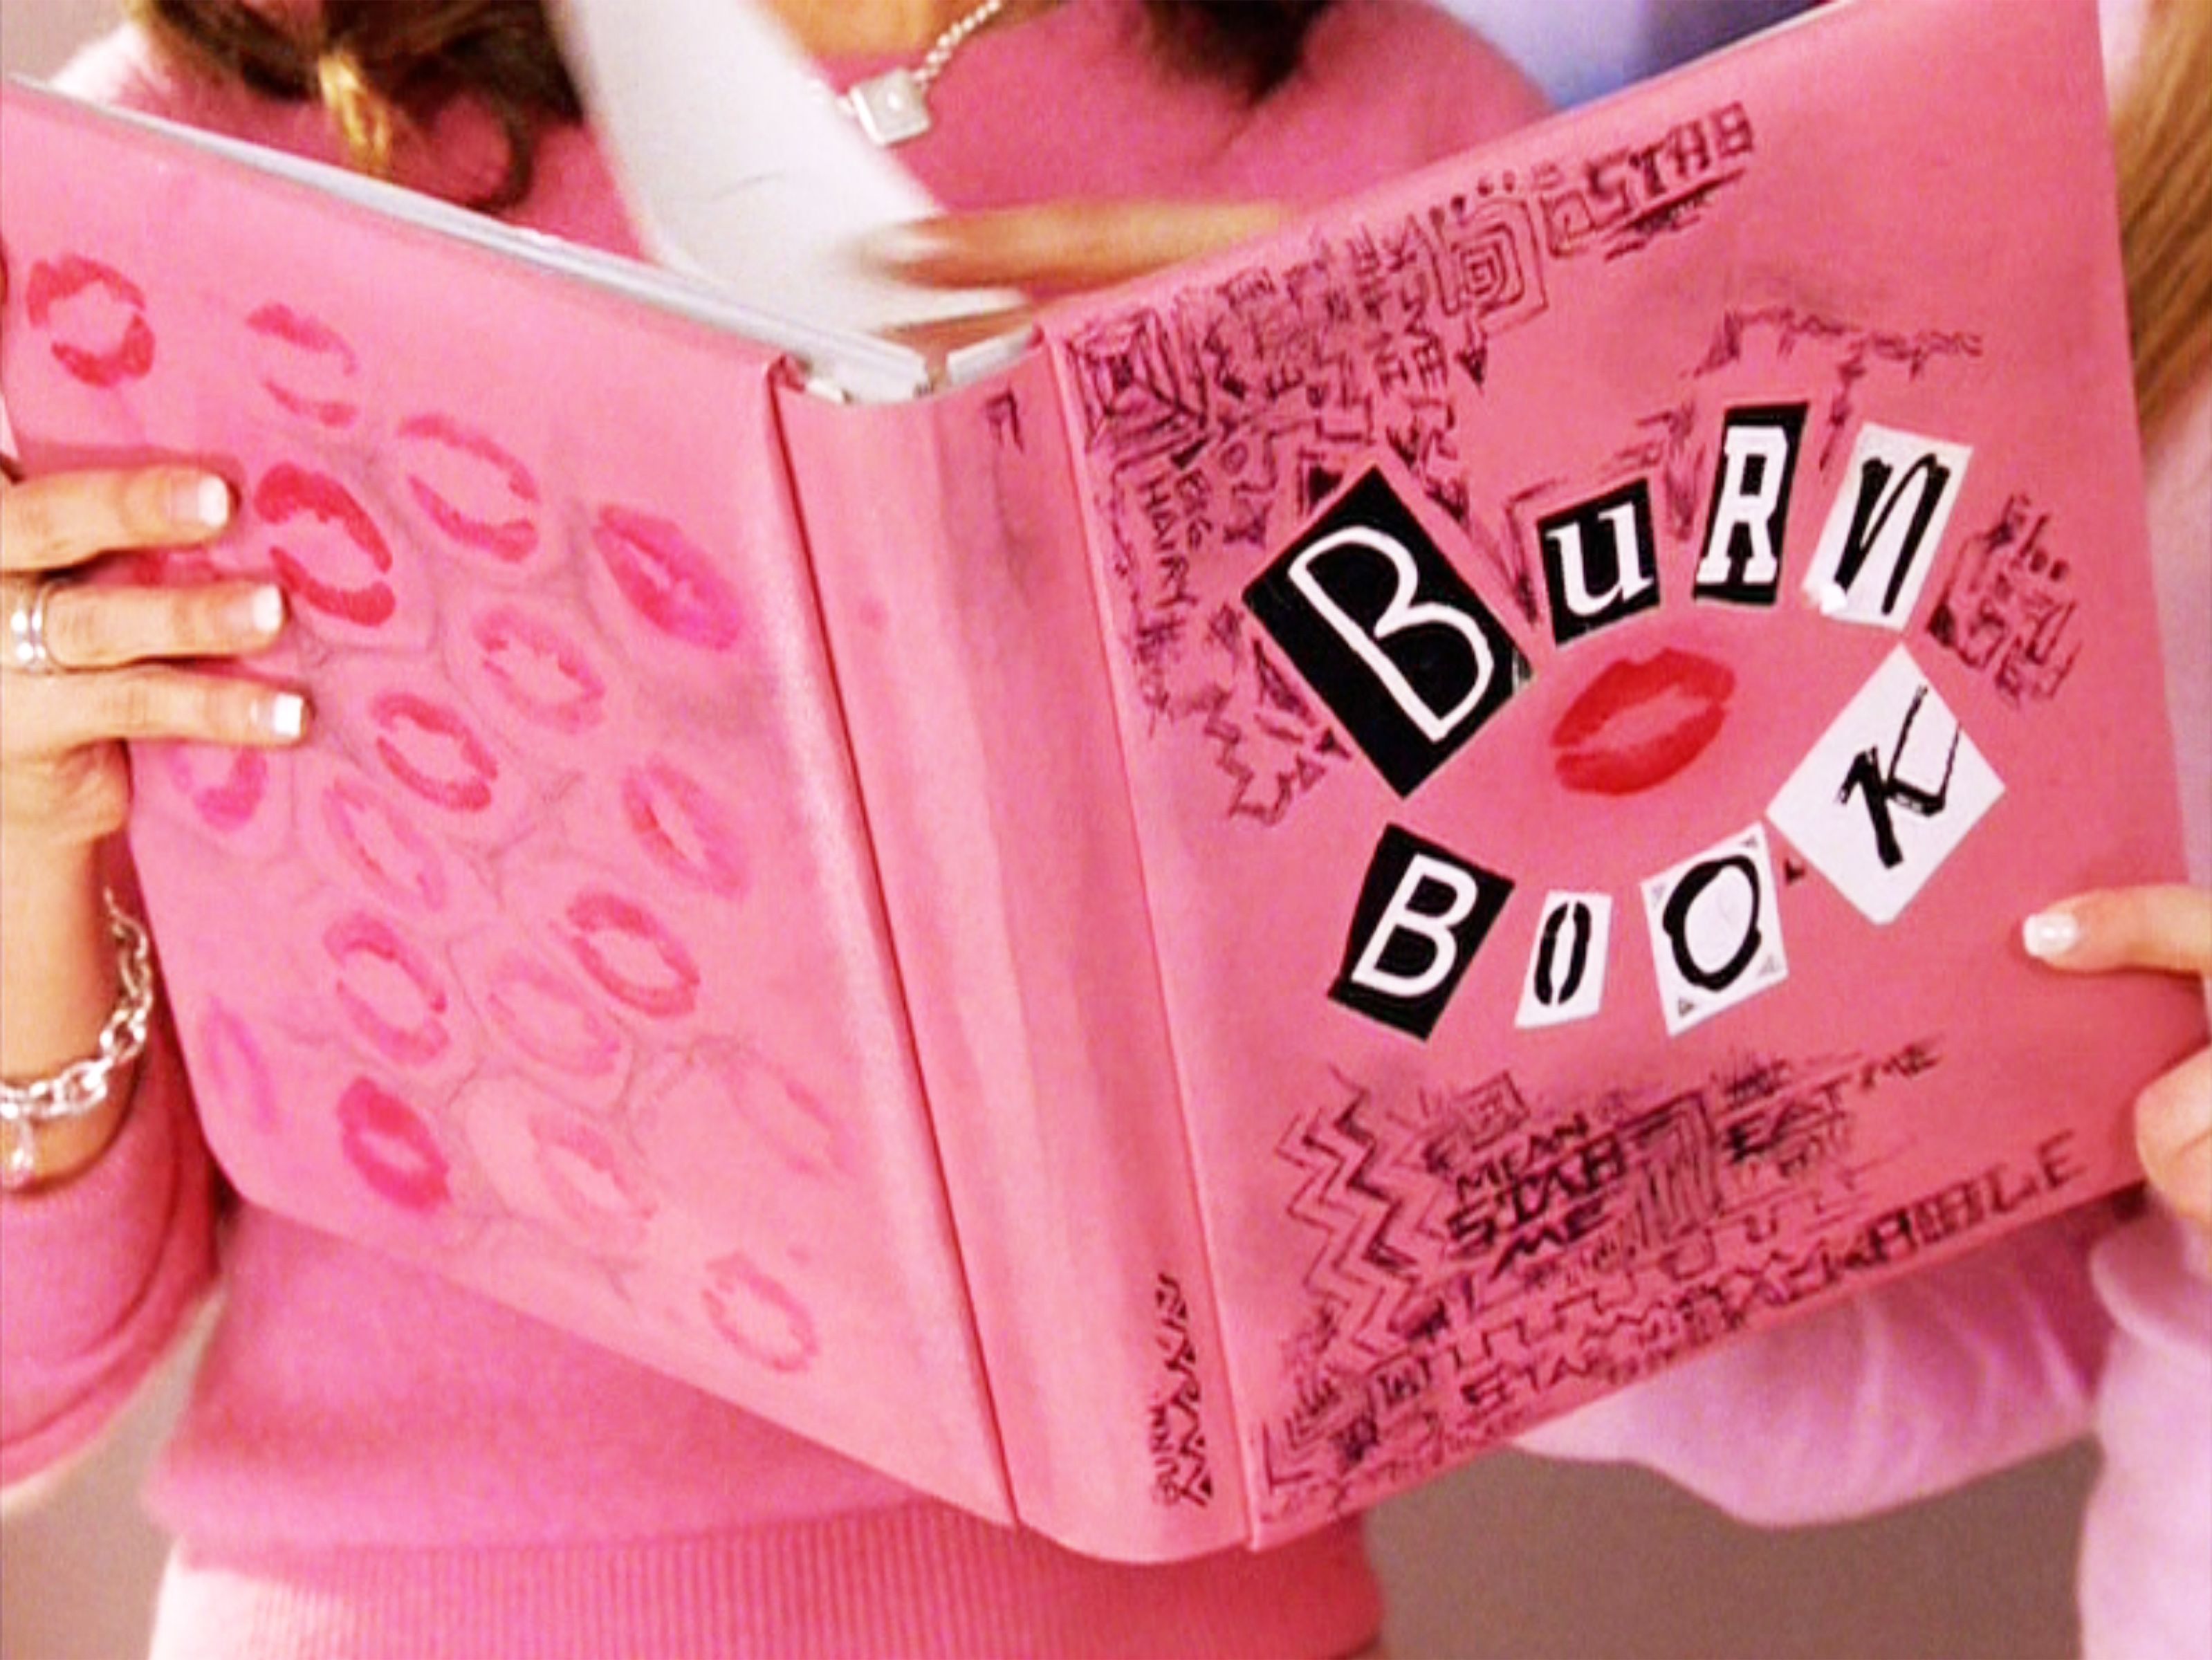
- Begin by opening up your Cricut app and individually typing the letters found in the words “birthday burn book”. Type out ALL letters, even the duplicates. Next, click on each letter and choose a random font, making each one a different font than the next. You can try to mimic the fonts used for “Burn Book” to match those from the actual Burn Book featured in the movie (see below), but I found that to be too time-consuming which is why I just chose random fonts. Do as you please! ?
2. Next, you’re going to cut out all of these letters using your Cricut twice, once on white cardstock paper and again on black cardstock paper.
3. Now that you’ve cut your letters, sort out which ones you want to use. This is where I mimicked the movie’s Burn Book and used white for both of the Bs, the U, and the R. I used the black letters for the N, both Os and the K. For the word “birthday”, I just randomized the letters I used. Feel free to copy me or randomize them yourself!
4. Once you’ve sorted your letters, group them into 2 piles – white letters and black letters. Then, one-by-one, glue all of the white letters onto black cardstock, leaving plenty of space in between the letters. Do the same for all of the black letters on the white cardstock. I used Mod Podge for this as it made the process so simple! I swiped some strips of Mod Podge then laid the letters on top, pressing firmly. Allow the letters time to dry overnight.
5. Next, find a “kiss” graphic on the Cricut app and cut it out on the red cardstock paper.
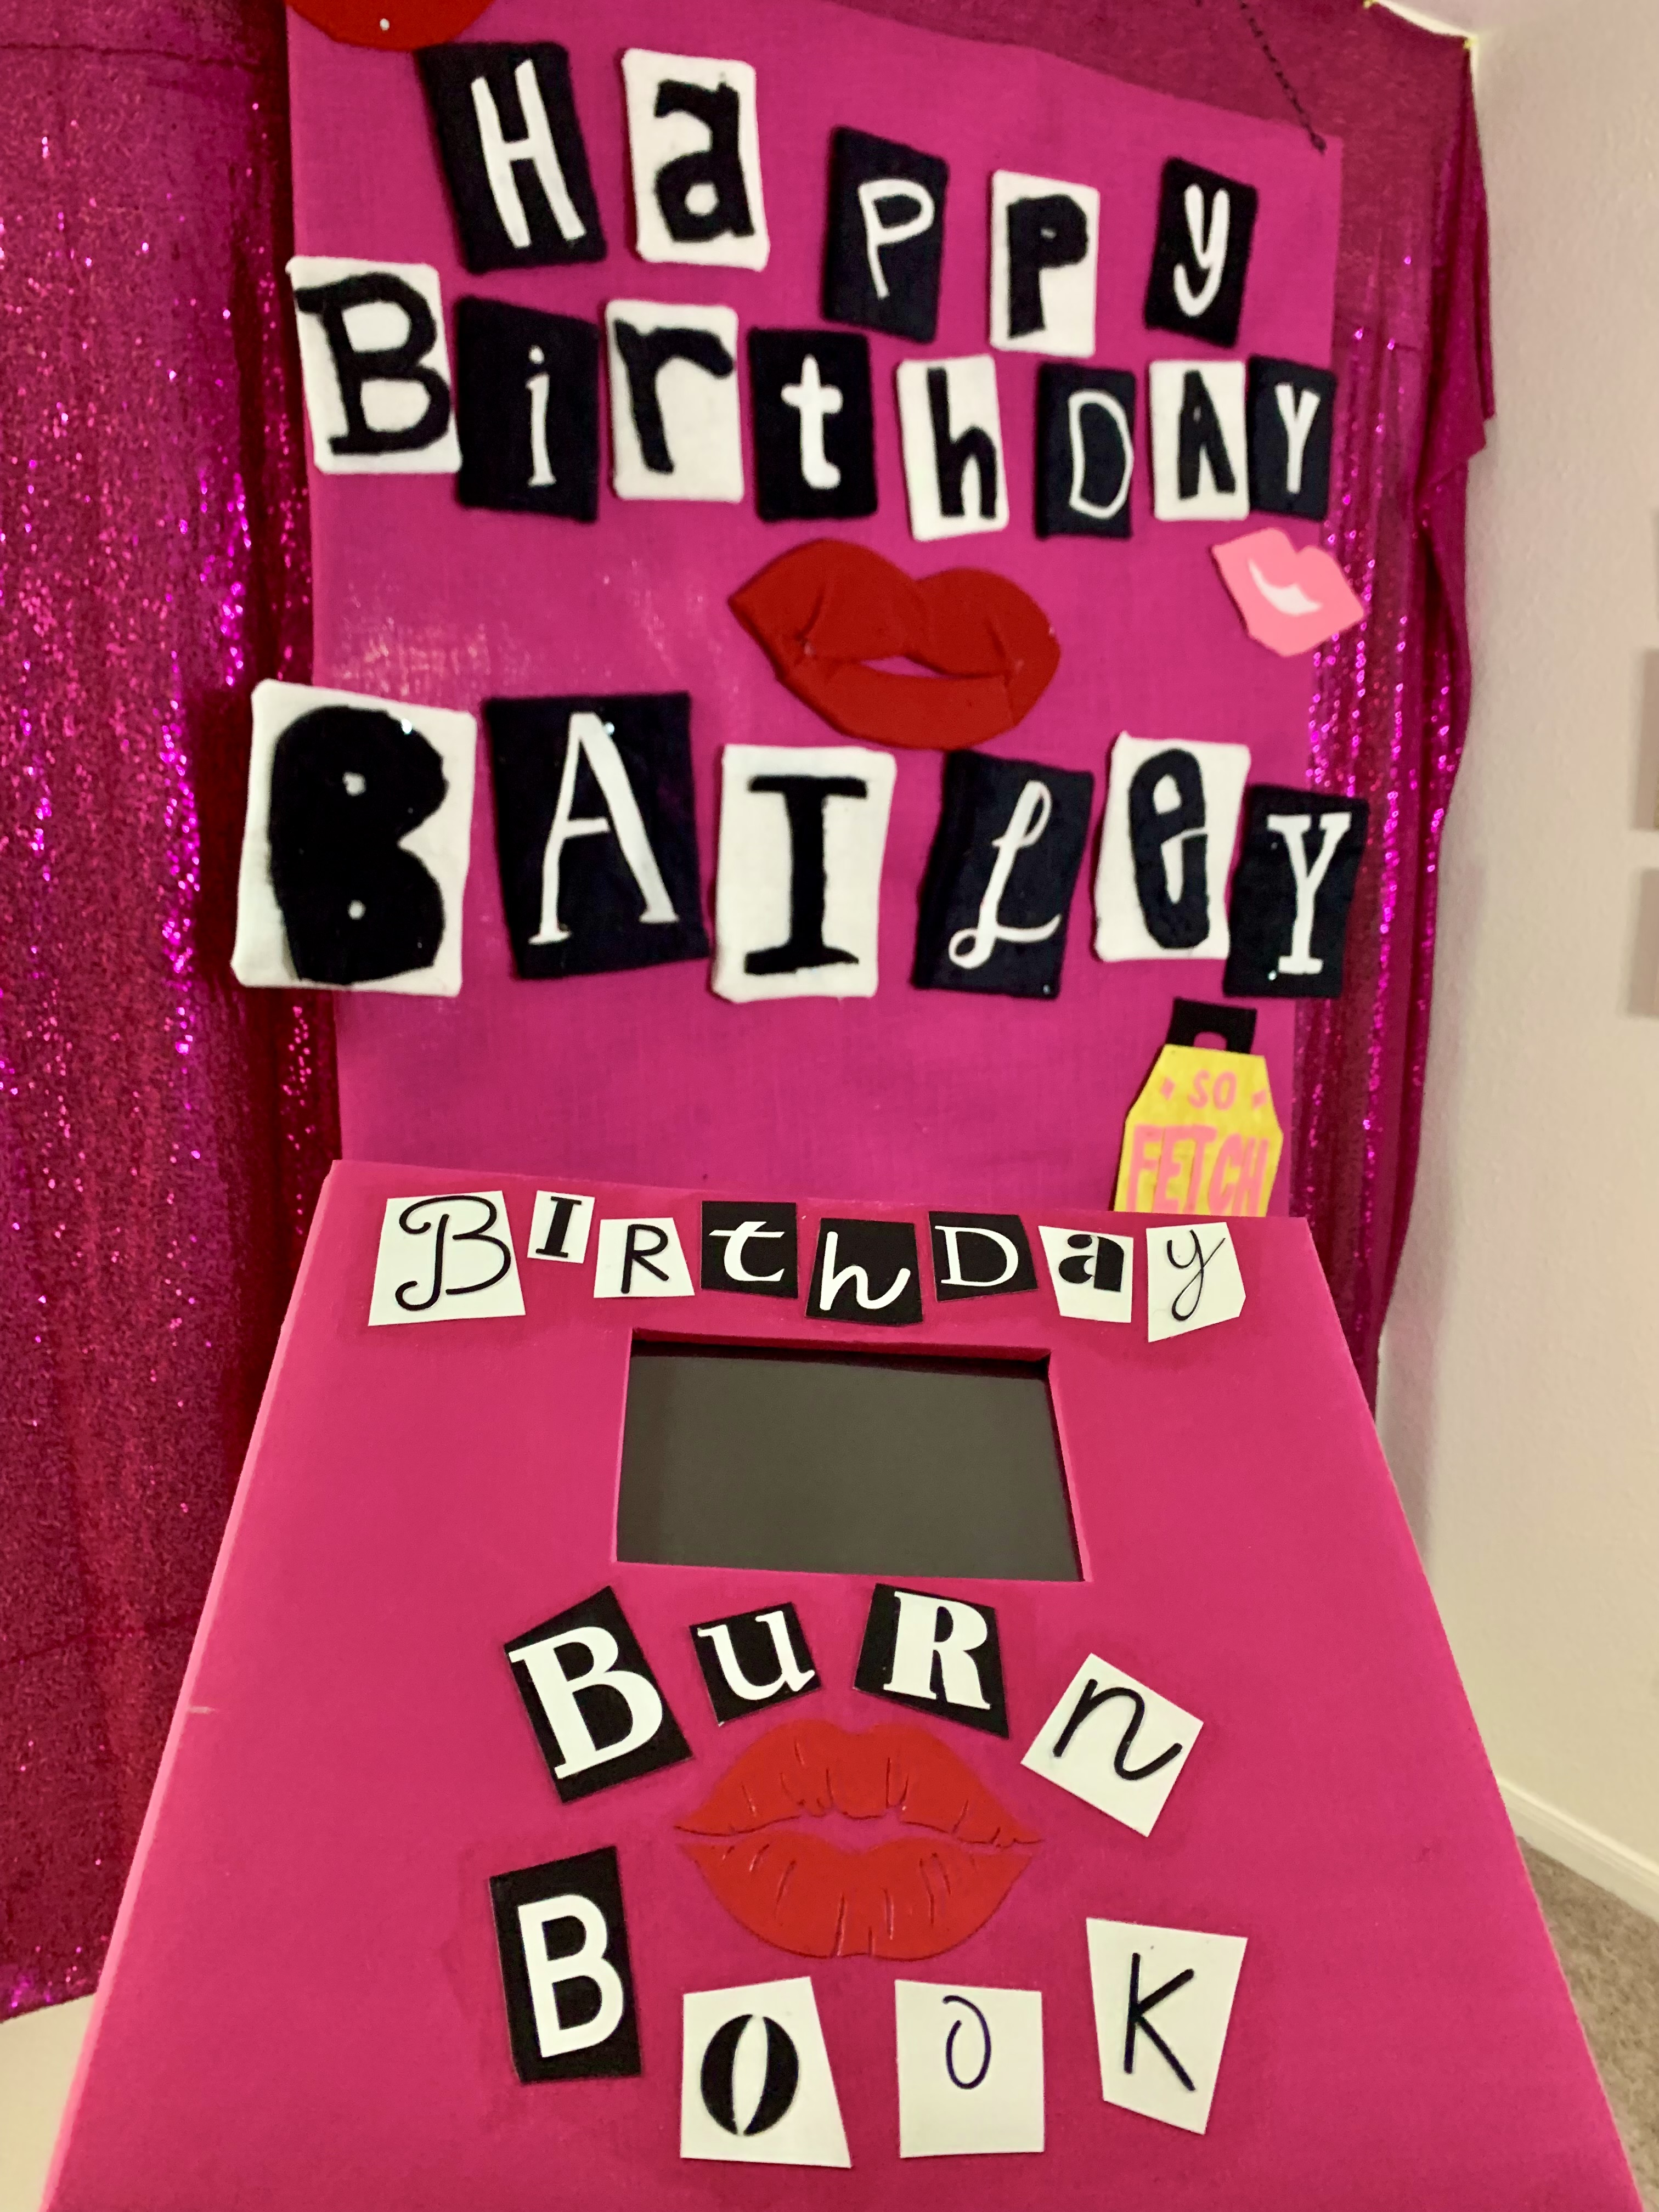
6. Once all of the letters are completely dry, use a pair of household scissors to cut boxes around the letters, making them abstract and abnormal in shape. Feel free to mimic the shapes used on the real Burn Book or the ones I used on my Birthday Burn Book, OR have fun randomizing it yourself. ? After you’ve cut out the letters, lay the kiss onto your scrapbook and begin to spell “Birthday Burn Book” around it using your letters. Again, feel free to mimic my design or create your own!
7. One-by-one, pick up a letter (or the kiss) and brush Mod Podge onto the back of it then place it back in its spot. Continue doing this until all of the letters and the kiss have been glued down. For added protection, brush some Mod Podge over the letters as this will help them stay down while making them water-resistant. Let dry overnight.
8. Glue the Birthday Burn Book Rules onto the first page and have a few extra copies handy to lay on the table where your new Birthday Burn Book will lay.
Using Your New Burn Book
Before your party, be sure to collect the following supplies to help create the best experience when using your new Burn Book.
Supplies
- Instax Mini Instant Camera (here’s a new one you can get on Amazon that is super cool looking!)
- Extra Instax camera film
- Markers
- Glue sticks or double-sided tape
What Now?
Now, the fun begins! Designate a table or spot for your Birthday Burn Book to stay and make sure you’ve got some extra Rule Sheets hanging around! As each guest arrives, take a solo photo of them (I did so in front of the beautiful backdrop) and tell them to paste the photo onto a blank page in the book once the photo develops. Once a good number of guests have pasted their photo into your Birthday Burn Book, make a big announcement reminding everyone to write you a birthday message and leave some positive comments about the other guests in the book. Making this announcement really got my friends shakin’ and movin’, so I’m hoping this works for you too. Enjoy treasuring the best birthday guest book you’ve ever had! ?
Flip through the photos below of my finished Birthday Burn Book pages that were created at my party! After the party, I chose to write a message about each person then send them a photo of it as a “thank you” for attending my birthday party. My friends loved their personalized messages!
Let The Games Begin!
I created a trivia game that I named “Who Said That?” – Mean Girls Game to play at my party. What better way to stick to the theme than to have some movie trivia, am I right?! The video below is a 4-minute clip of us playing the game with myself as the trivia host since I knew all of the answers. ? Scroll a little more and you’ll learn how YOU can play this exact trivia game at your party too!
Play “Who Said That?” with Your Friends!
First, you’ll want to download the Blank Game Sheets and Answer Sheet (which is completely free!). Next, be sure to “like” the video below on YouTube or “save for later” so that you’ll have quick, easy access when it’s time to start playing this totally fetch party game. ?
Party Favors
I tend to go above and beyond, and doing so for this themed birthday party of mine was no exception! I decided that I didn’t want anyone using plastic cups at my party because that is NOT environmentally friendly, so I decided to decorate some cups for people to use and then take home with them. I originally had about 20 people RSVP, so I knew I needed to find some cheap cups to decorate. I headed straight to Dollar Tree where I found 4-packs of pink plastic reusable cups for $1 each! (This was before inflation changed Dollar Tree’s pricing to $1.25 each ??) These were perfect! Now…what to decorate them with??
Of course, the best decoration would be to put quotes from the movie on each cup! ? So I began doing some research and compiled this list of Mean Girls Movie Quotes that I cut out on sticker vinyl via my Cricut. I started out using a sparkly pink vinyl but quickly realized that the black vinyl was best as it made the quotes easier to read.
I was careful not to use quotes that would be used in the trivia game so as not to give away any answers. Additionally, I focused on quotes that would suit my friends’ personalities so that everyone could find a “quote cup” that they resonated with most. This made the party favors a little more meaningful and (hopefully) less wasteful! Check out the photos below to see some of the finished cups!


Let’s Get This Party Started!
I hope this article was informative and will help you created the most totally fetch birthday party there ever was! Please feel free to drop a comment with feedback or to tell me which of these aspects you decided to use for your Mean Girls themed birthday party. Stay tuned for more party-planning fun! I’m turning 30 soon and have an incredible idea that you may also want to steal. ?
Your blog is great, and I want to know what web host you use. I wish my site loaded as fast as yours lol.